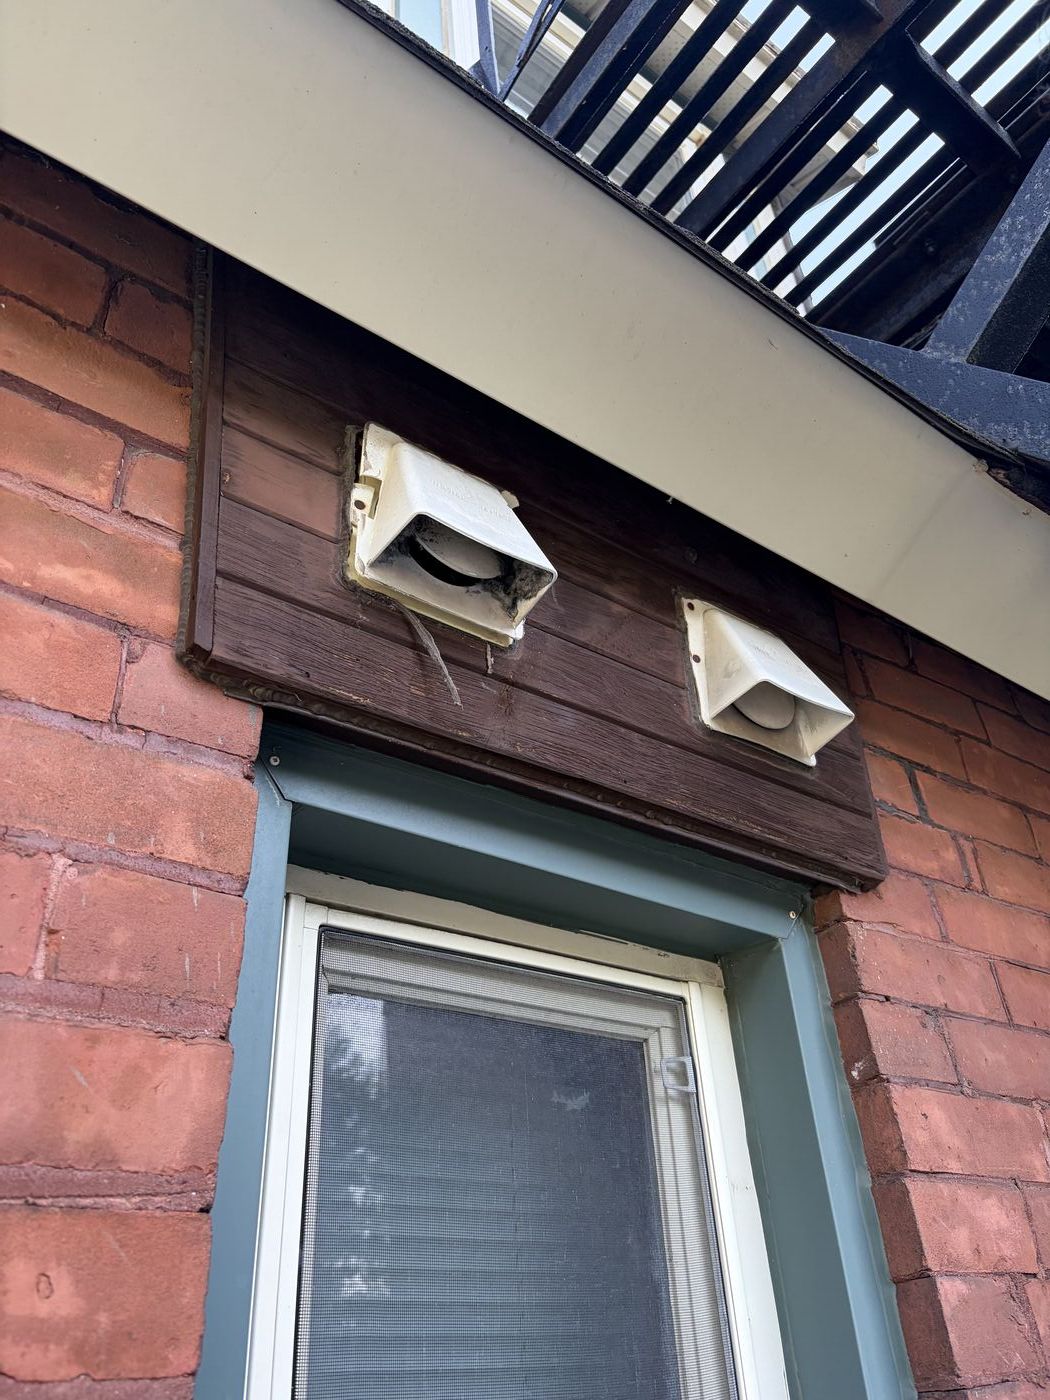
Your outside vent covers have a big job: letting warm, moist air out while keeping cold air, birds, and rodents from getting in. In this guide, I will explain the difference between intake and exhaust vents, when a cover needs replacing, what proper installation looks like, and the reason we install ours the way we do — insulated, sealed, and animal-proof. Fair warning: this is a couple thousand words about vent covers. I promise it is more interesting than it has any right to be.
Why the exterior dryer vent cover matters.
Every load of laundry pushes hot, lint-filled, humid air through the dryer vent duct and out the wall. When the cover at the end of that run is working, the flap opens under airflow and closes flat the moment the dryer stops. When it fails, your home is left with an open 4-inch hole in the wall — and in Ottawa, that means heated air pouring out all winter and pests looking for a warm place to nest. Hydro-Québec pegs 25% of a home's energy loss on air leakage, and 80% of those leaks exit through ventilation outlets.
- Energy loss. A flap stuck open leaks heated air continuously and lets cold backdrafts reach the laundry room.
- Pest entry. Birds and rodents use broken dryer vent flaps as a direct entrance into your duct and wall cavity.
- Fire risk. Damaged or screened covers trap lint at the exit point — the most common spot for dangerous buildup.
- Moisture damage. A poorly sealed cover lets exhaust moisture wick behind siding, feeding rot and mould.
When an outside dryer vent cover needs replacement.
Most homeowners only look at their vent cover when something is obviously wrong. Here is what to check every spring and fall.
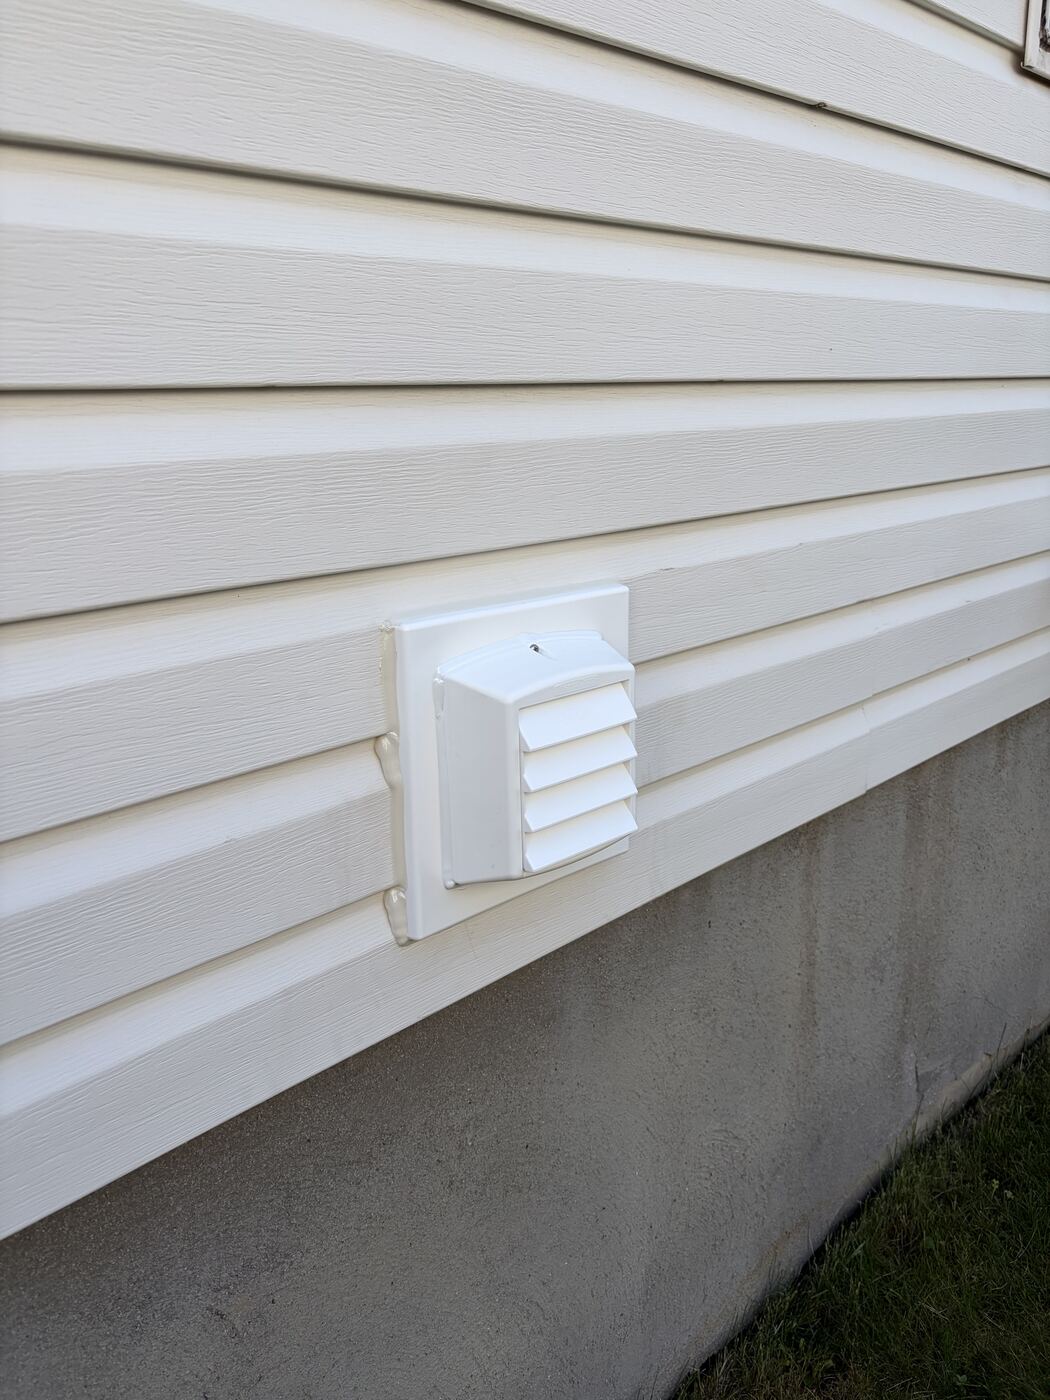
- The flap is cracked or missing. UV exposure makes thin plastic brittle. Once a dryer vent flap cracks, it stops sealing and pieces eventually break off entirely.
- It sticks open or closed. Lint, frost, or a warped hinge can jam the flap. Stuck open means constant heat loss; stuck closed means airflow backs up into the duct.
- Nesting material or droppings. Twigs, grass, or feathers at the vent opening mean birds have already moved in. Warm, dry, free heating — honestly, better amenities than some rentals in this city. The duct should be cleaned out before a new cover goes on.
- Lint caked on the outside. Heavy lint at the exit means airflow is restricted somewhere — often a screen or crushed duct behind the cover.
- Frost or ice around the vent in winter. A cover that does not seal lets moist air condense and freeze around the opening, which can ice the flap shut.
- Longer drying times. If towels suddenly need two cycles, check the vent exit first. A blocked or failing cover is the cheapest fix on the list.
Vent cover, flap, grill, soffit box: what each term means.
Nobody is born knowing this vocabulary, and every company throws it around like you should be. So before we compare anything, here is the cast of characters.
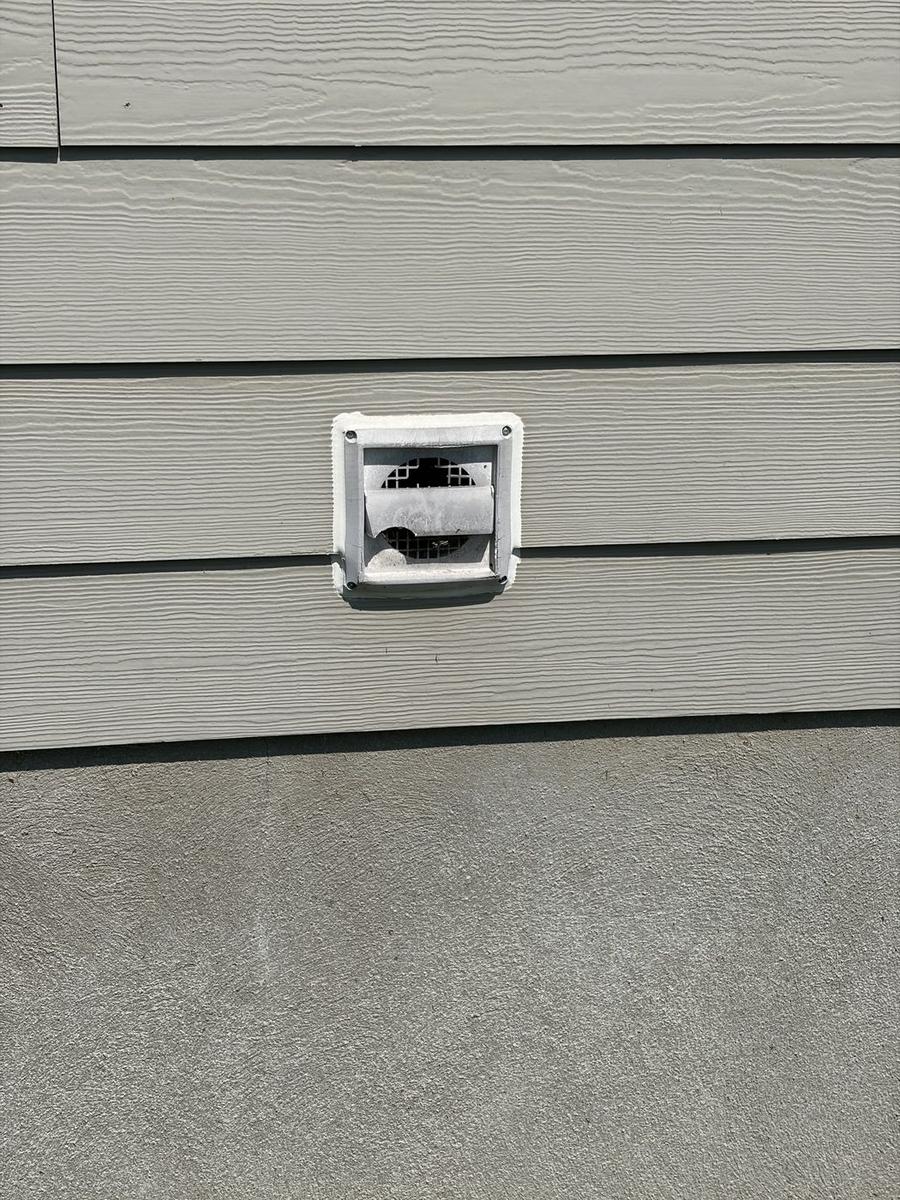
The vent cover is the whole assembly where your duct exits the wall. The moving part inside it is the flap — it opens when air flows and should close flat the second it stops. The photo below shows a flap that rusted open with the duct exposed. That is what “animals got in” looks like, and the fix is not what most pest companies will sell you.
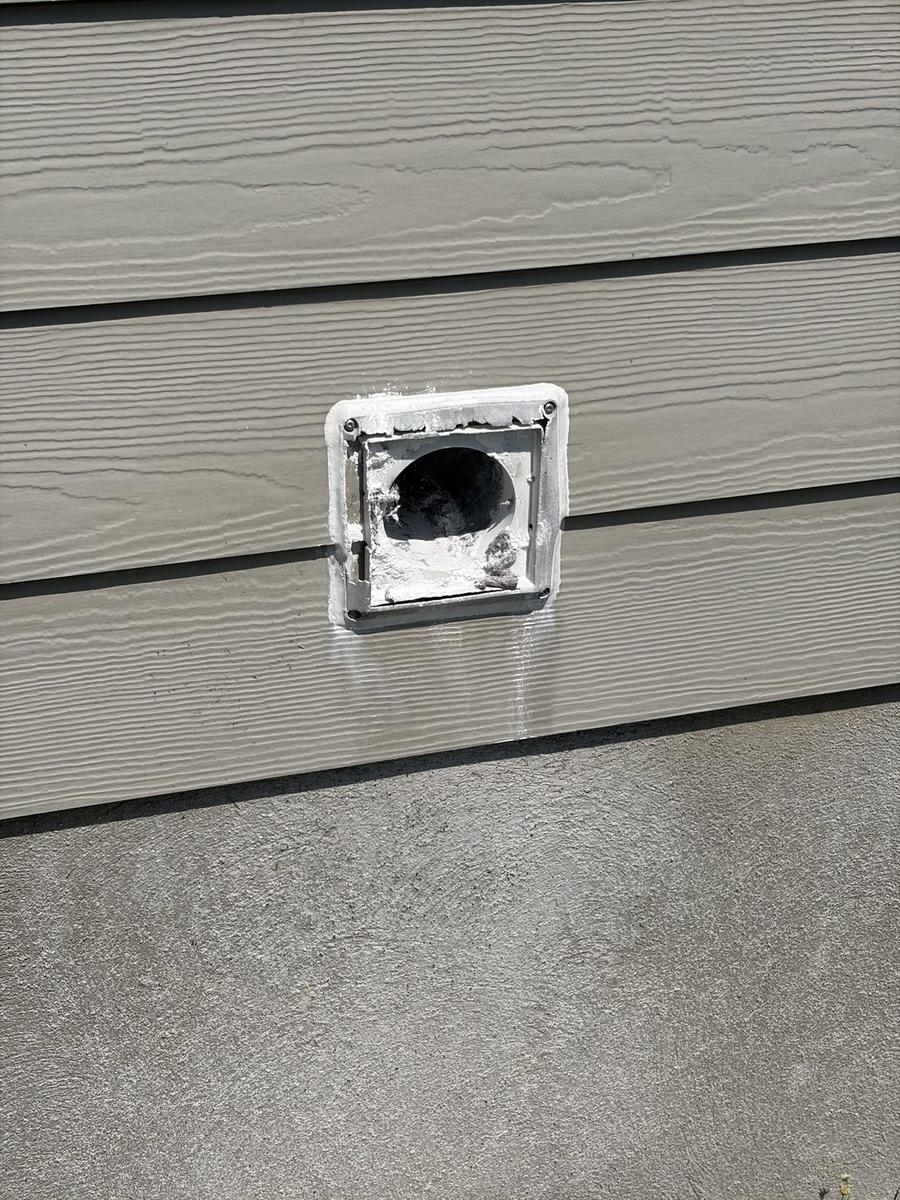
A wire grill is the mesh screen installers put over a broken vent cover to keep birds out. It does keep the next bird out. It does nothing about the destroyed insulation behind the broken flap, the air leaking through it, or the lint collecting on the mesh. A Thermo-Trap is what we install instead — a sealed, R-1 insulated, animal-proof cover that fixes both problems at once. A grill is only the right call on a brand-new, undamaged vent.
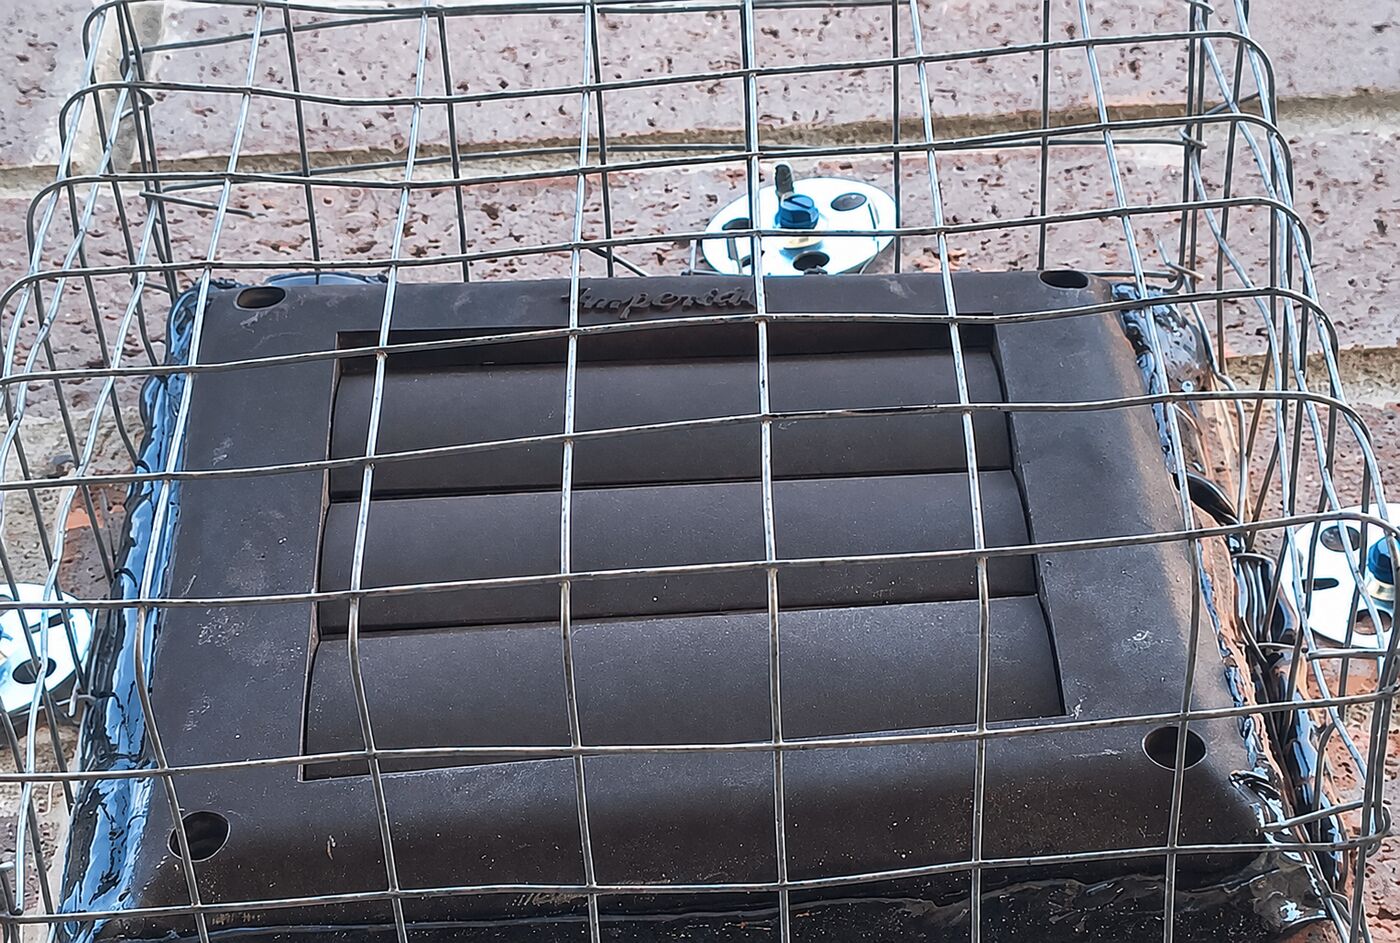 Wire grill
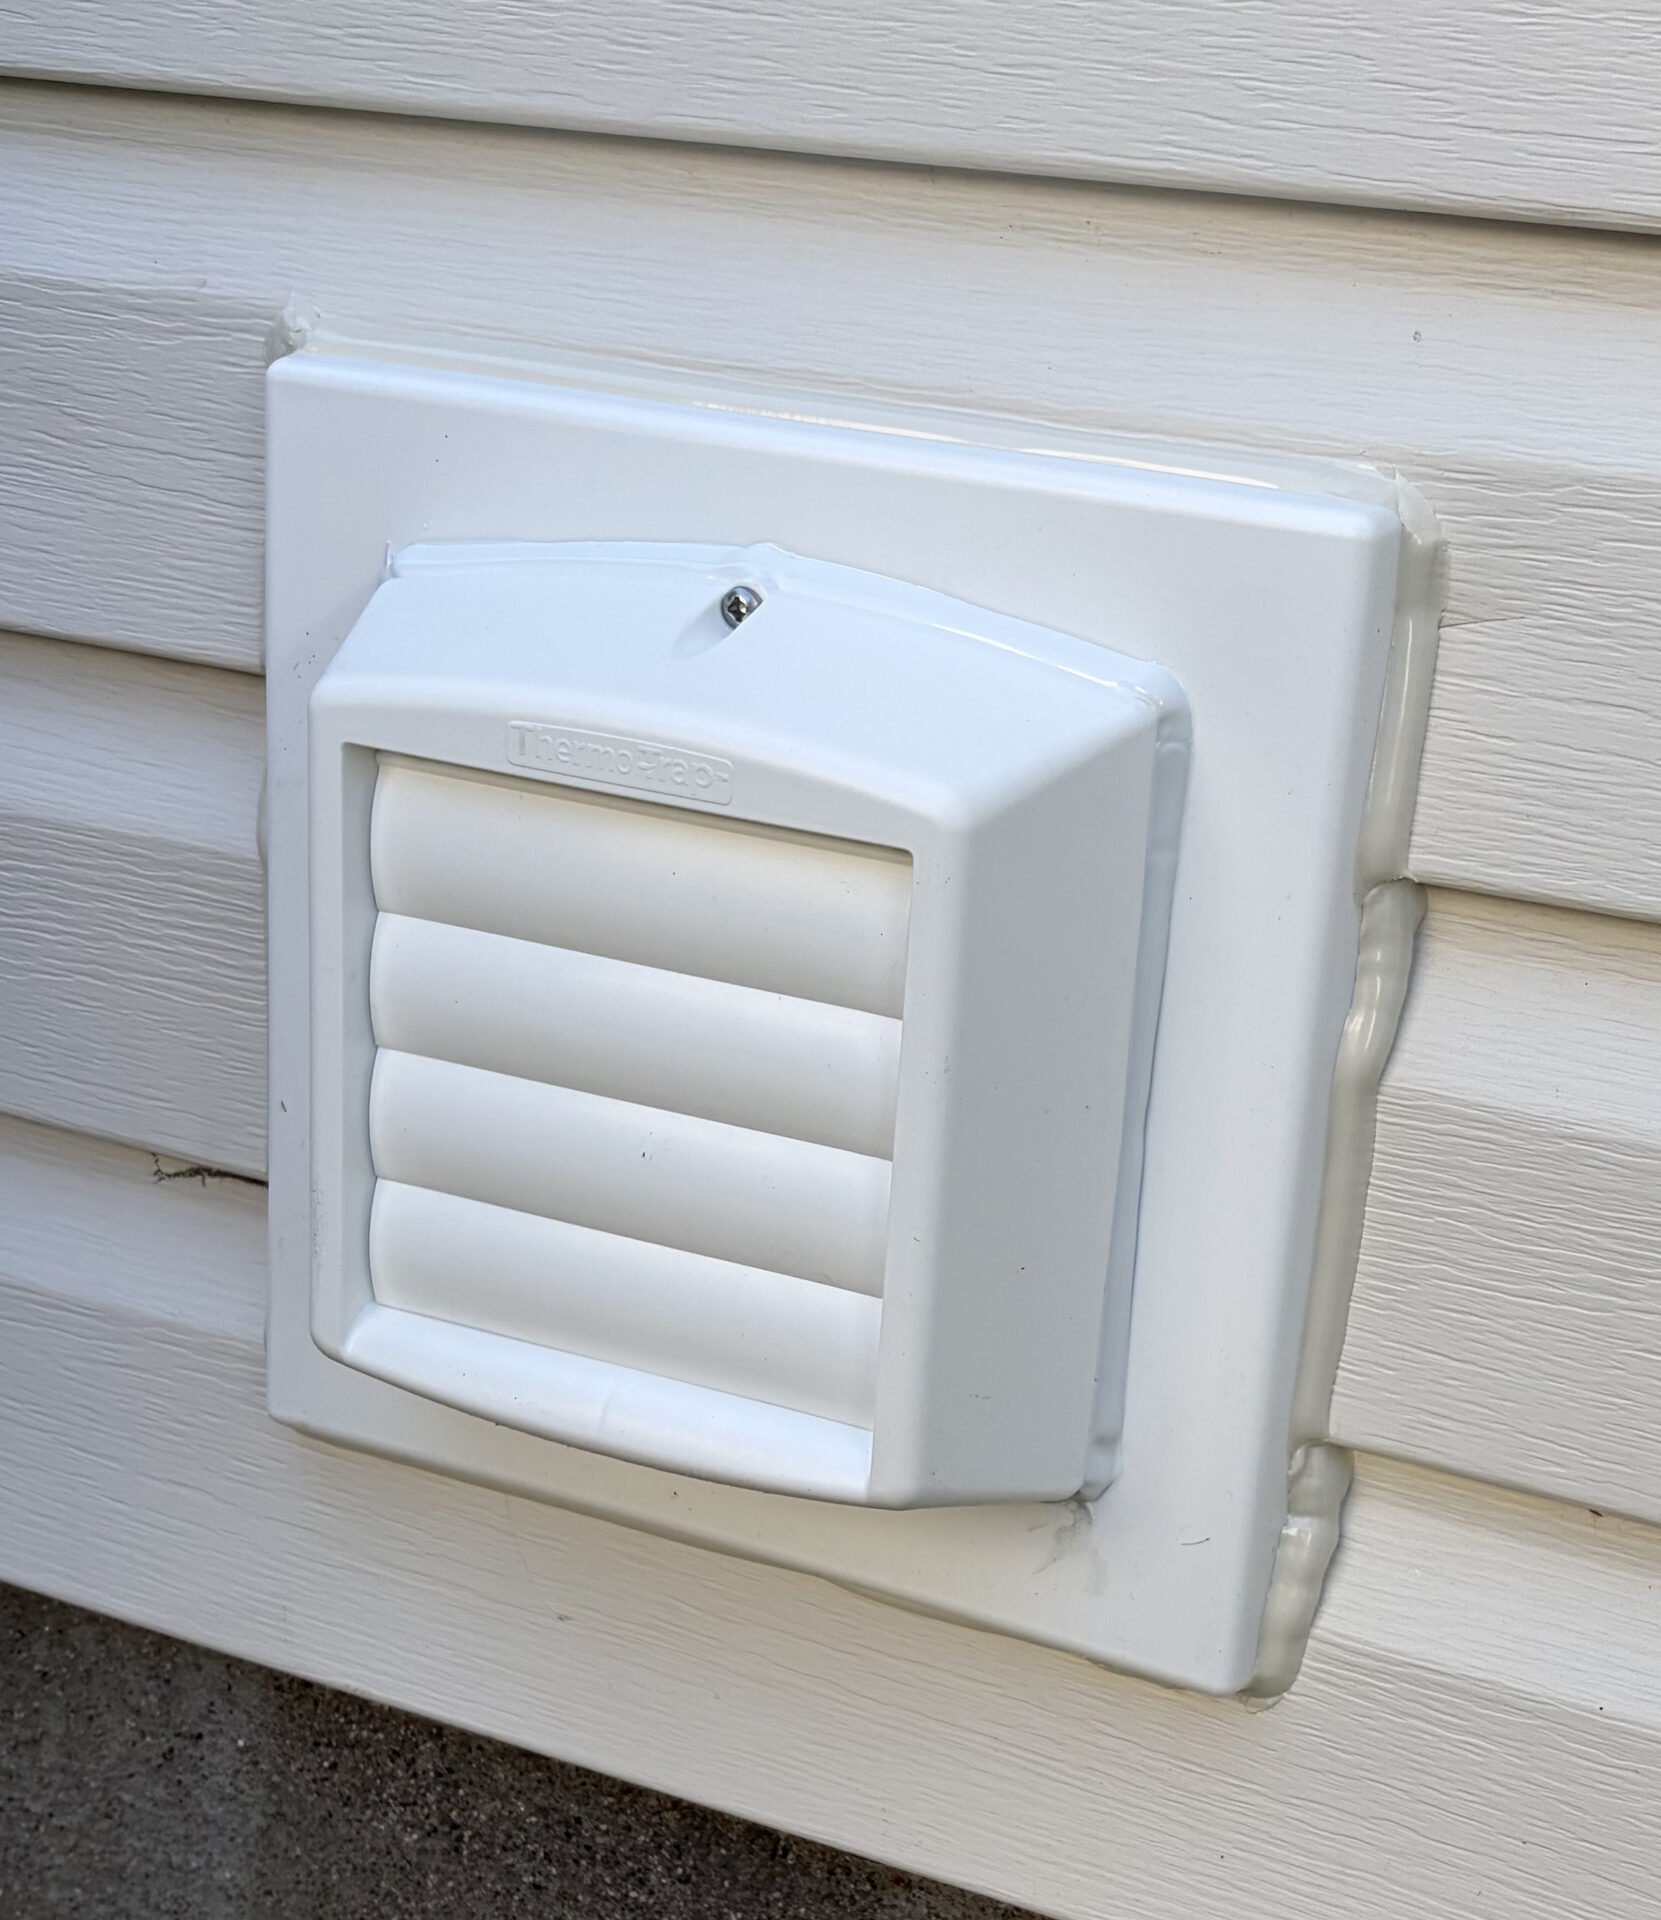 Thermo-Trap
Two more terms you will meet further down: a soffit box is the insulated sheet-metal housing we fabricate for vents that exit through the underside of the roof overhang, and a duct cleaning is everything the lint trap missed getting brushed out before a new cover goes on. If the old flap was stuck open for a season, assume there is a small mattress of lint in there.
Types of exterior dryer vent covers, compared.
Wall terminations are the most common in Ottawa, but vents can also exit through the roof or the soffit. Dumping exhaust into an open soffit is a problem — moist air gets pulled straight back into the attic through nearby intake vents — which is why soffit exits need a sealed, insulated termination. We cover how we handle those a little further down.
- Basic flap cover. The builder-grade plastic cover on most homes. Cheap and available at any big-box store, but the thin flap cracks, warps, and freezes in our climate — usually within 5 to 10 years.
- Louvered cover. Three or four small horizontal flaps instead of one. More surfaces to catch lint, and each little louver is another part that can stick open.
- Hooded cover with screen. The screen keeps birds out but traps lint fast. Building code guidance and dryer manufacturers advise against screens on dryer exhaust for exactly this reason.
- Dryer roof vent. Used when the laundry room is far from an exterior wall. Needs a dedicated cap designed for dryer exhaust and regular cleaning, since roof access makes neglect easy.
- Thermo-Trap. Our CSA-approved cover, invented for exactly this climate and made from UV-coated polypropylene so it cannot freeze shut like metal. It seals airtight at rest and blocks pests without a lint-trapping screen.
What proper dryer vent installation looks like.
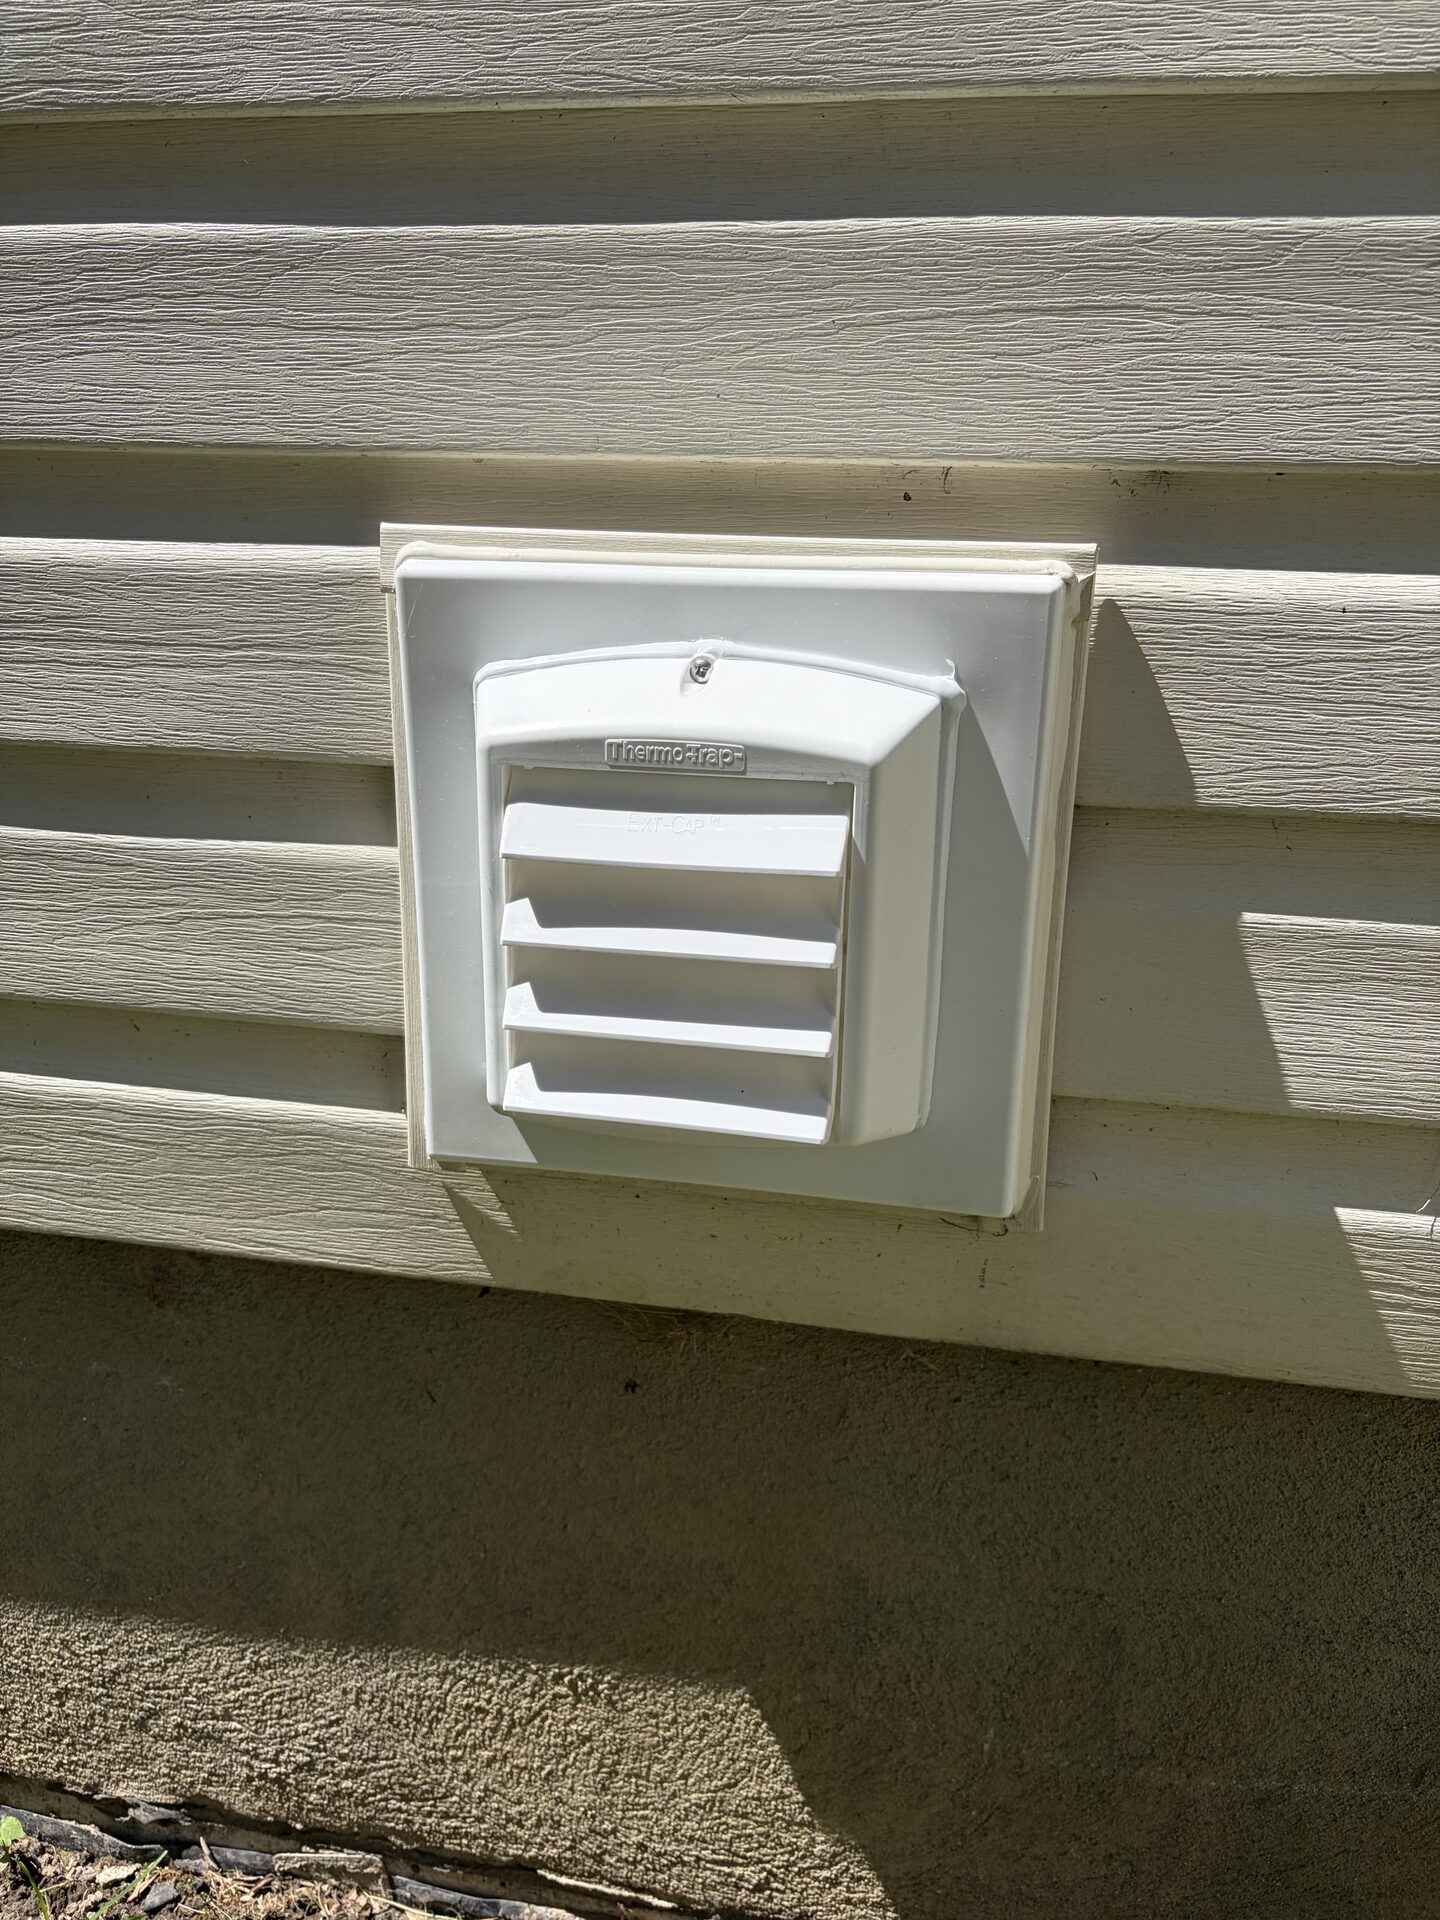
Whether you are installing a new dryer vent or replacing a failed cover, the same fundamentals decide how well it performs for the next decade. The short version: rigid or semi-rigid metal duct, the shortest and straightest run you can manage, UL-listed foil tape on the joints — never duct tape, never screws — a flashed and sealed wall opening that sheds water, a slight outward slope so condensation drains, and a cover that closes airtight the moment the cycle ends.
Every one of those choices has a reason behind it, and a way to get it wrong that quietly costs you for years. I wrote a separate guide that walks the whole job in order, with the actual measurements: how to install a dryer vent, step by step — including when it is a reasonable Saturday project and when it is not.
However the install happens, test it the same way we do: run the dryer. The flap should open completely, exhaust should exit freely, and the flap should close flat afterward with no gaps. That one test catches most bad installs.
The difference between intake and exhaust vents.
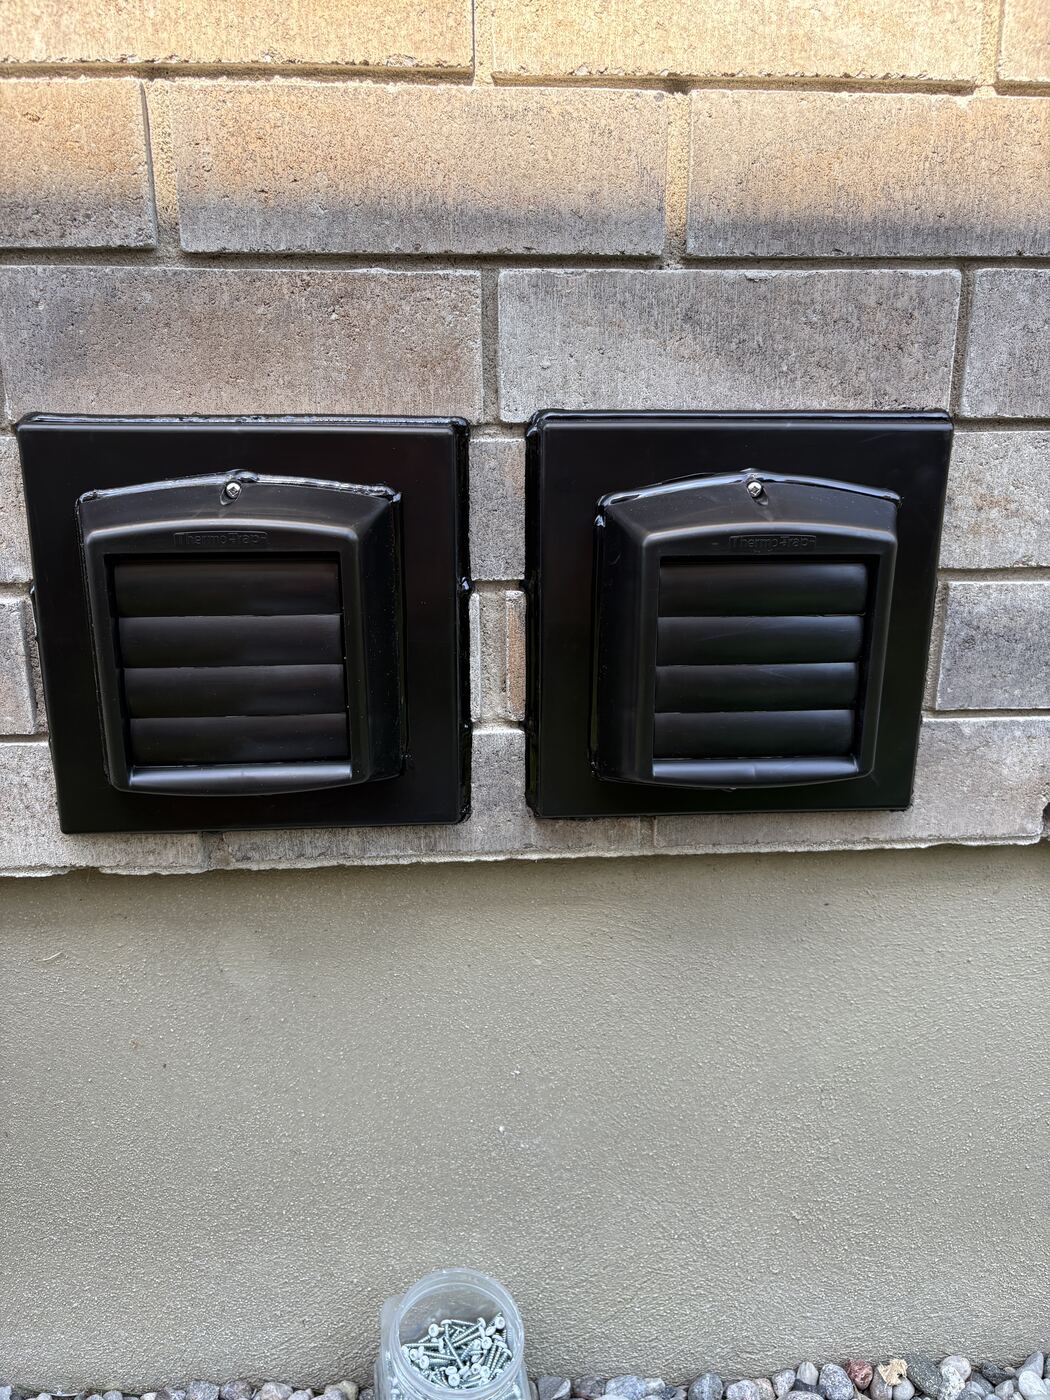
Your home has both kinds of vents, and they fail differently. Drag the sliders to compare replacements we completed — there are plenty more in the install gallery.
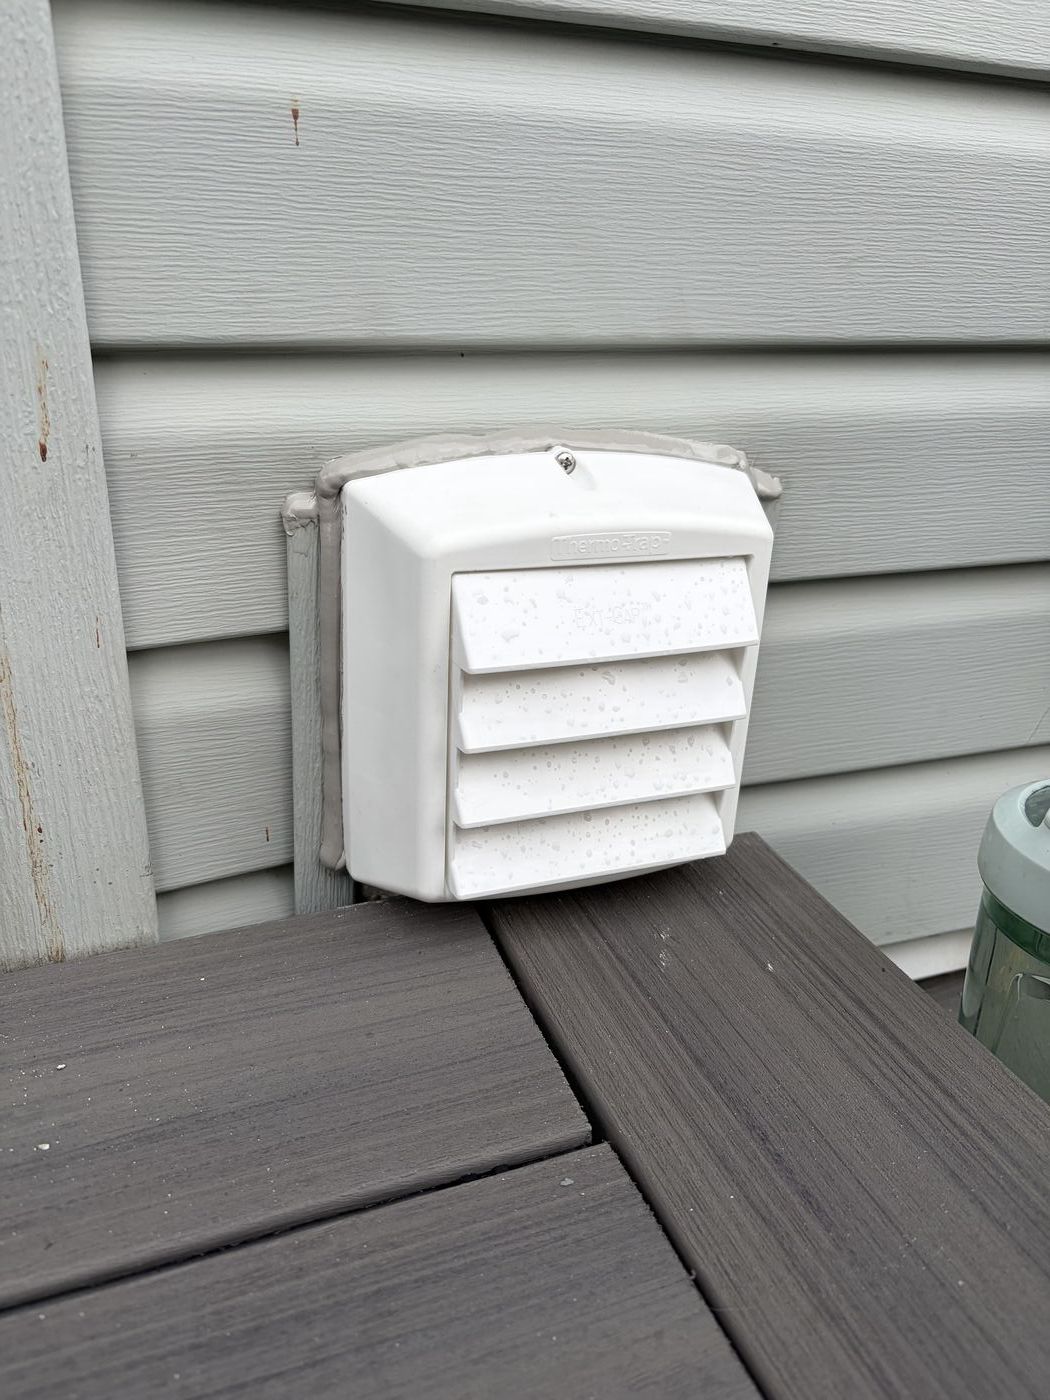
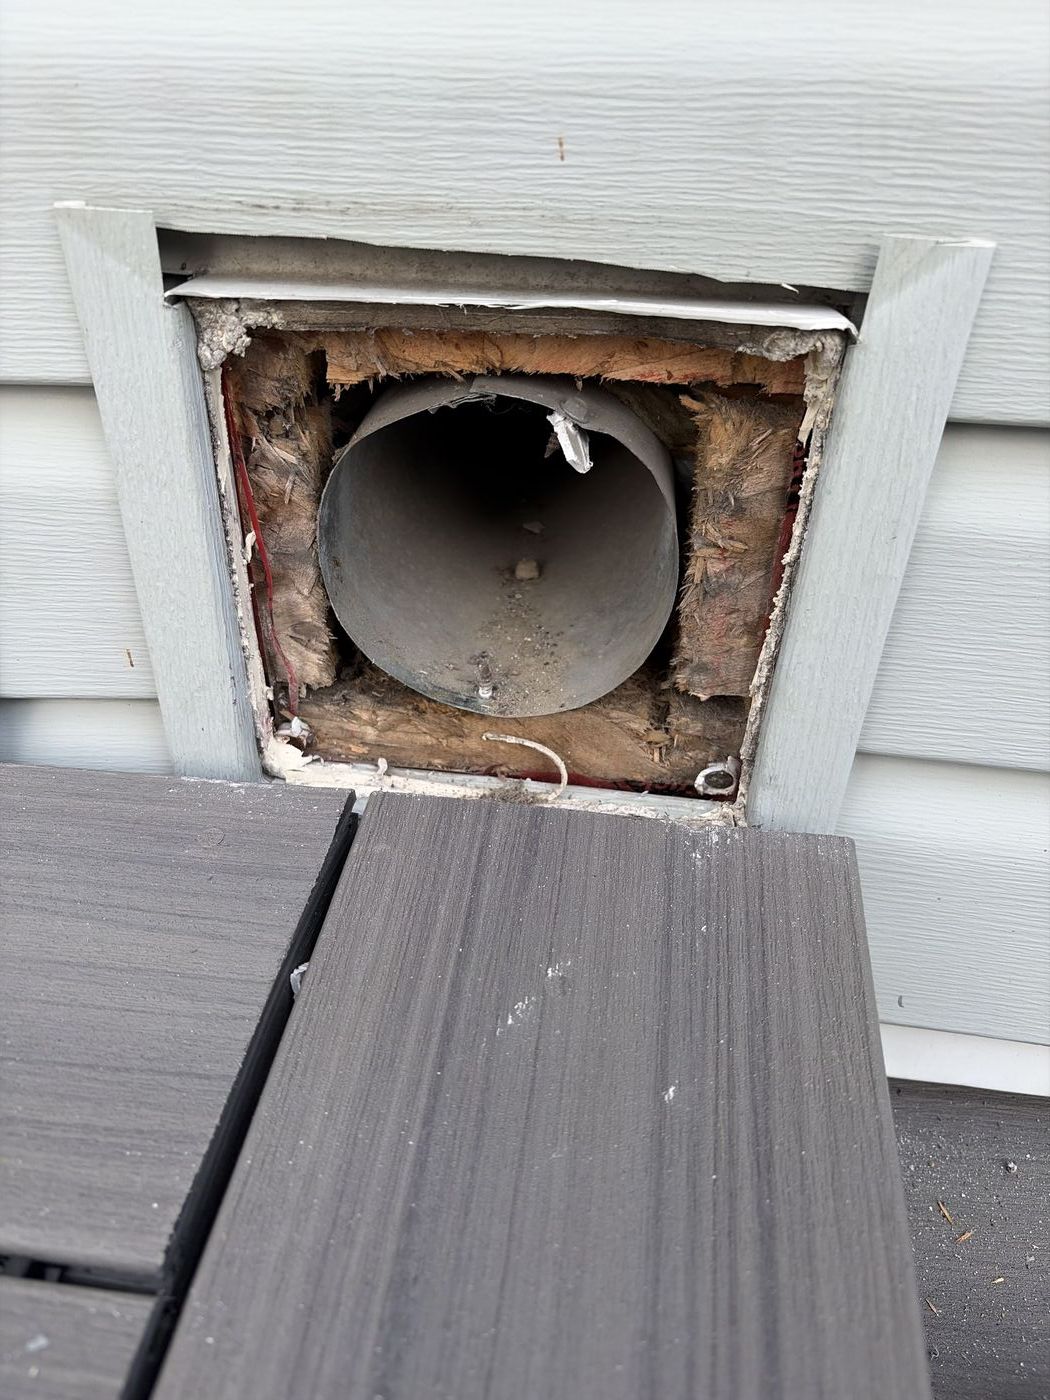
This is an intake vent.
An intake vent pulls fresh outside air into your home — usually feeding an air exchanger (HRV) or furnace. Because air flows inward, a failed cover here does not just leak heat: it lets cold drafts, snow, and pests ride straight into your ductwork. That is why the fit and seal on an intake matter even more than on an exhaust.
 Before
After
Before
After
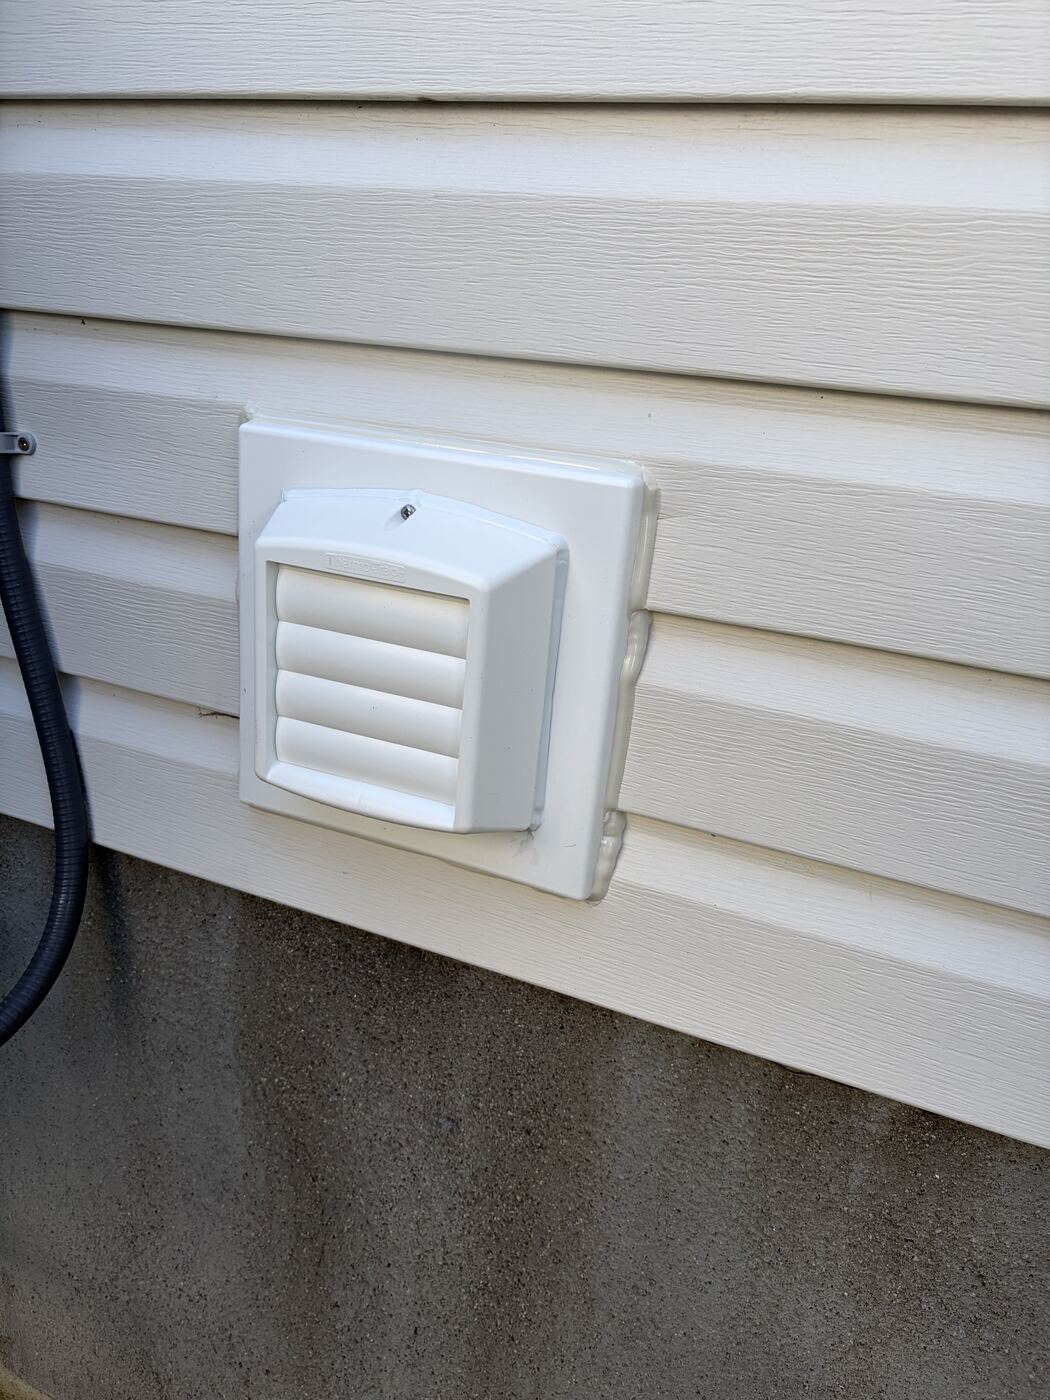
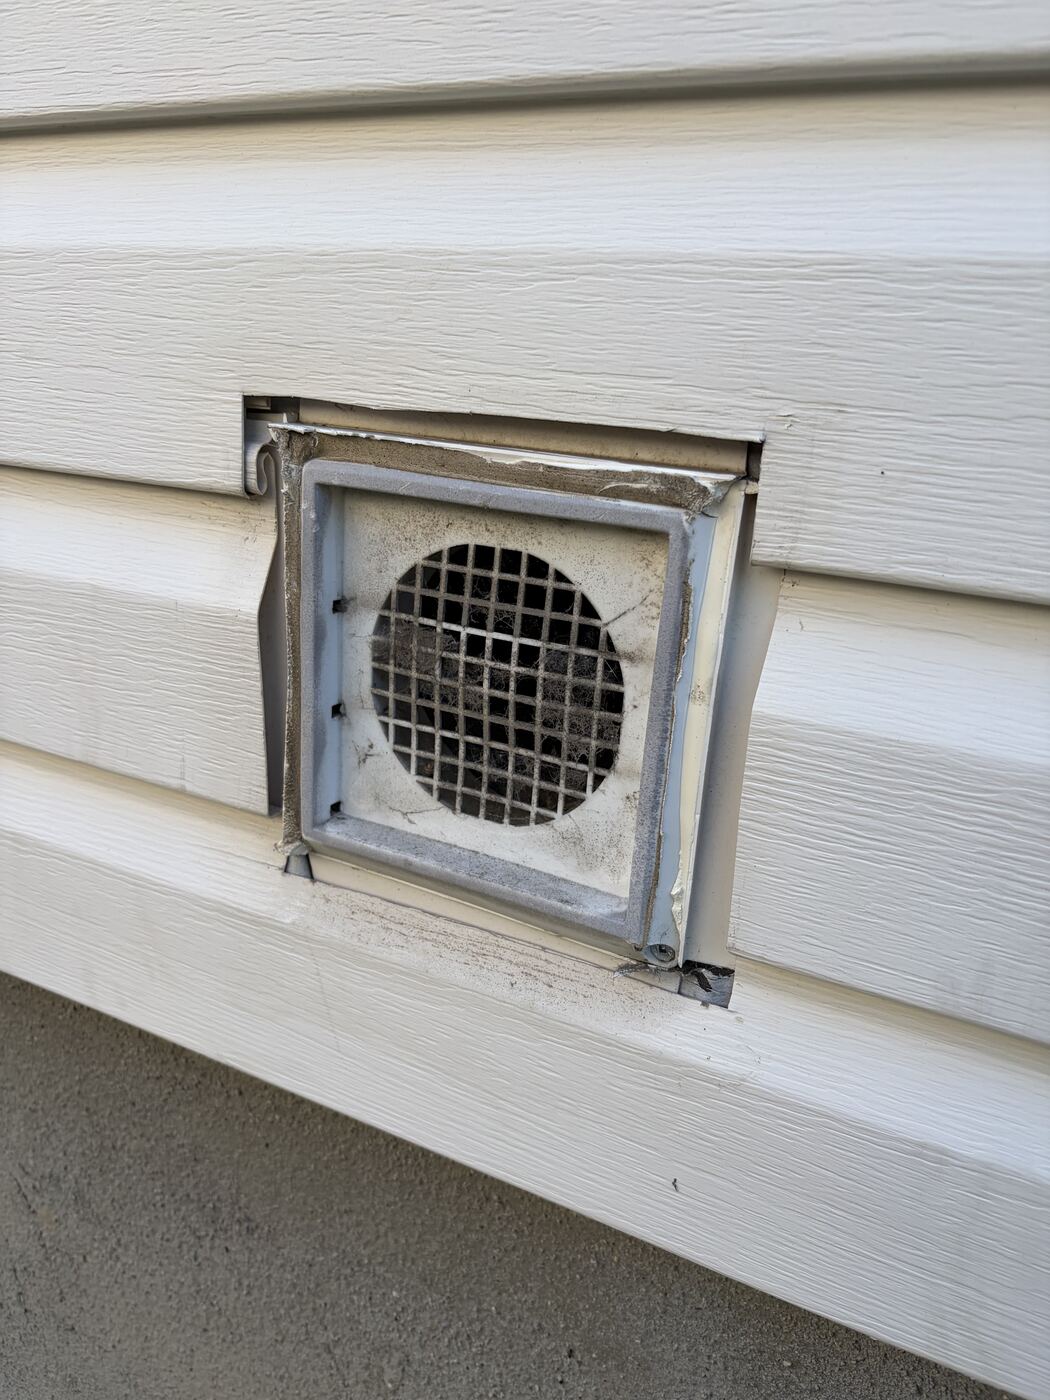
This is an exhaust vent.
An exhaust vent pushes stale, moist air out — from your dryer, bathroom fan, or range hood. The flap should open fully while the appliance runs and close flat the moment it stops. When it sticks open, you are heating the outdoors all winter — the squirrels appreciate it, your gas bill does not. When it sticks closed, moisture backs up into the duct and eventually into your walls.
 Before
After
Before
After
Why we build insulated soffit boxes instead of just screwing on a cover.
A lot of bathroom fans in Ottawa exit through the soffit — the underside of your roof overhang. Most companies will screw a plastic cover over the opening and call it done. We do not, and here is the reason.
Insulated soffit boxes create a proper housing for the vent cover while cutting off unwanted air drafts. When your bathroom fan is not running, the insulated box stops cold outside air from entering your ductwork and warm indoor air from escaping. It makes for a more efficient and far more durable installation. Drag the slider to see a replacement we completed.
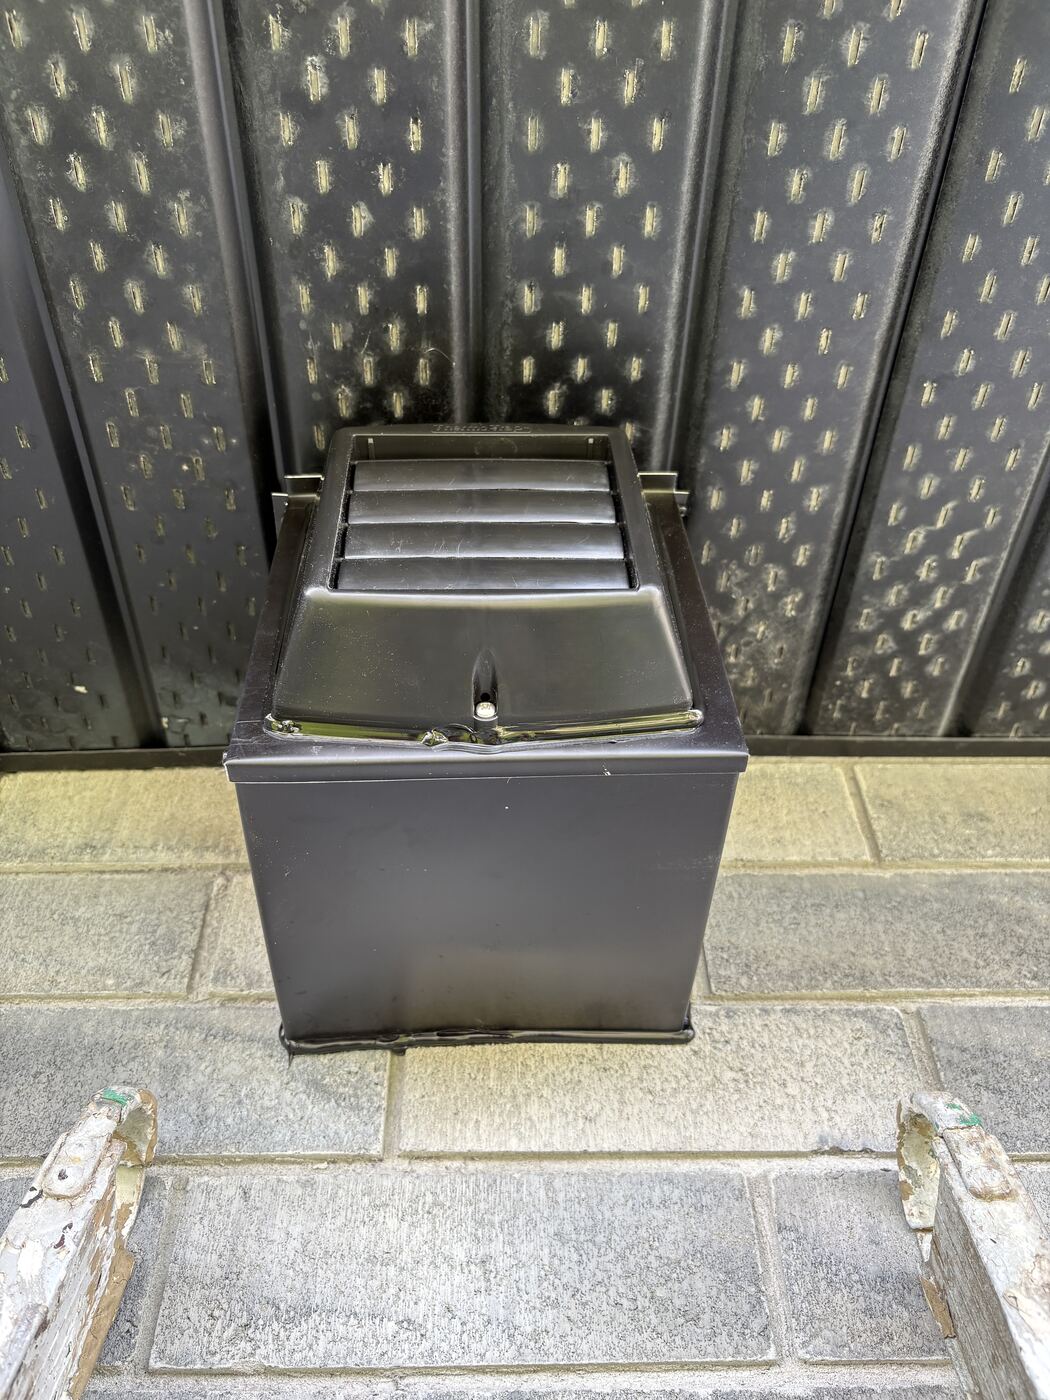
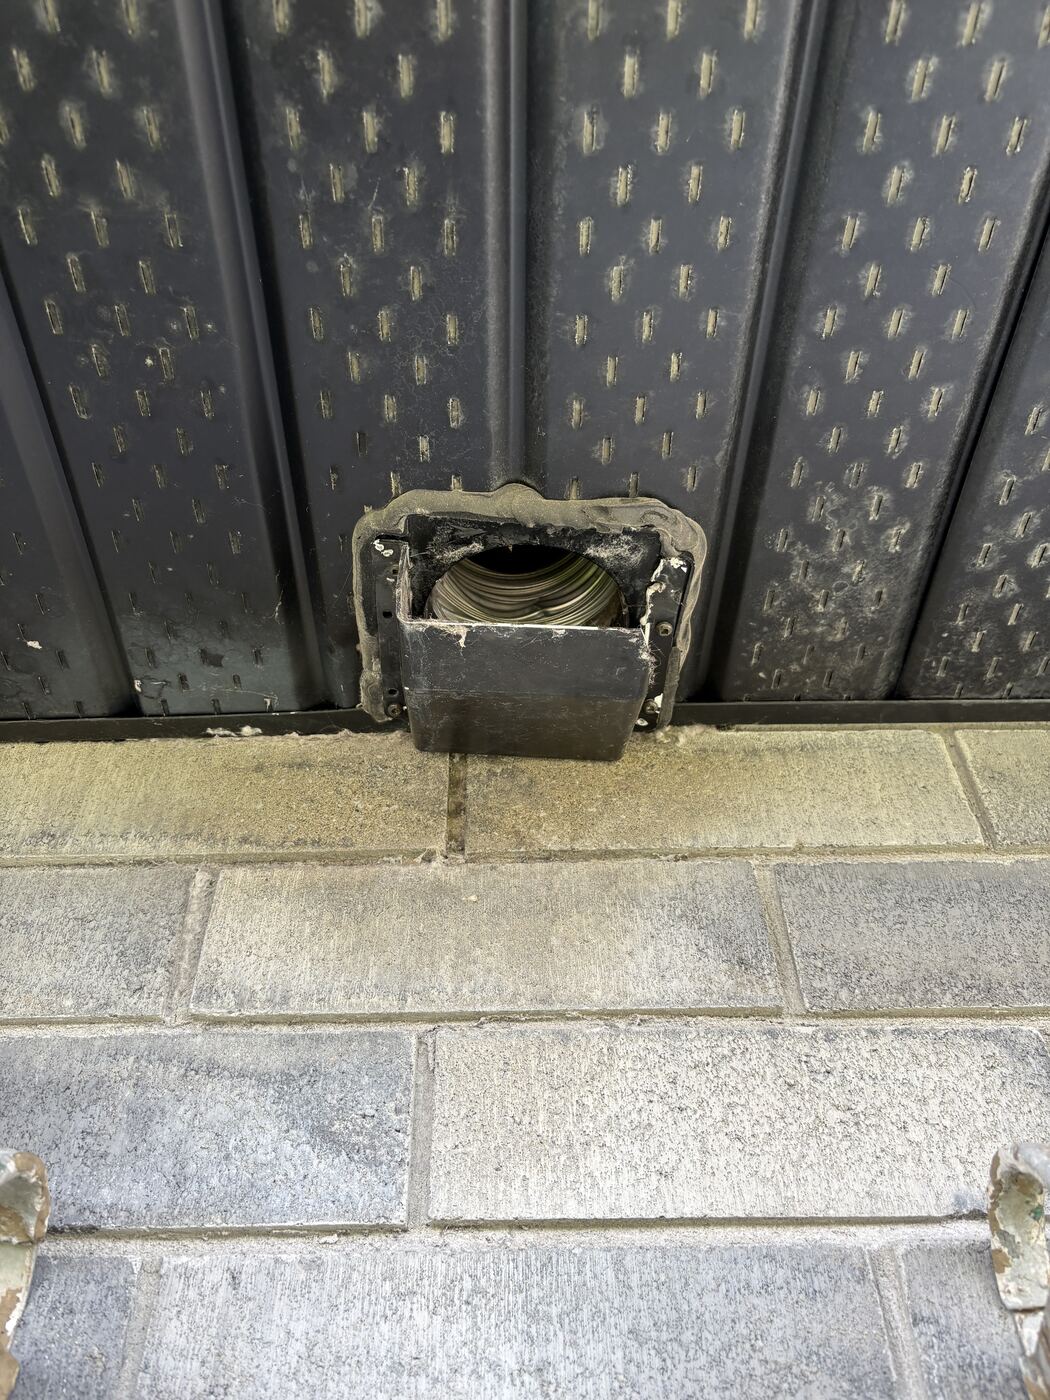 Before
After
Before
After
We build each soffit box by hand.
We fabricate each box from sheet metal, insulate it, and colour match it to your existing fascia for a clean, professional look. To our knowledge, no one else is installing vent covers the way they should be done — insulated and animal-proof — because nothing like this exists on the market yet. So we build it ourselves, on site, for every soffit install.
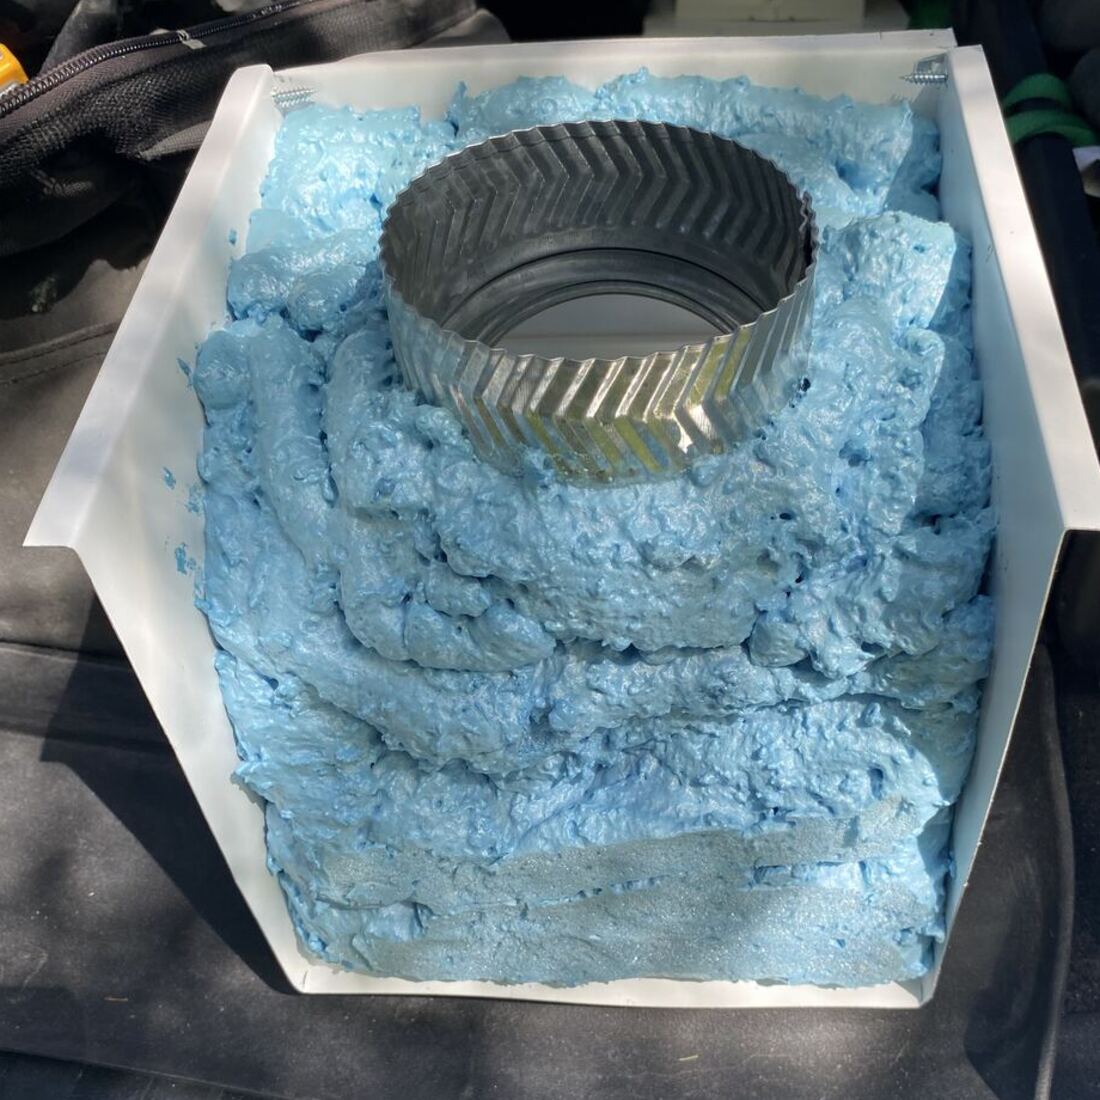 Inside the box
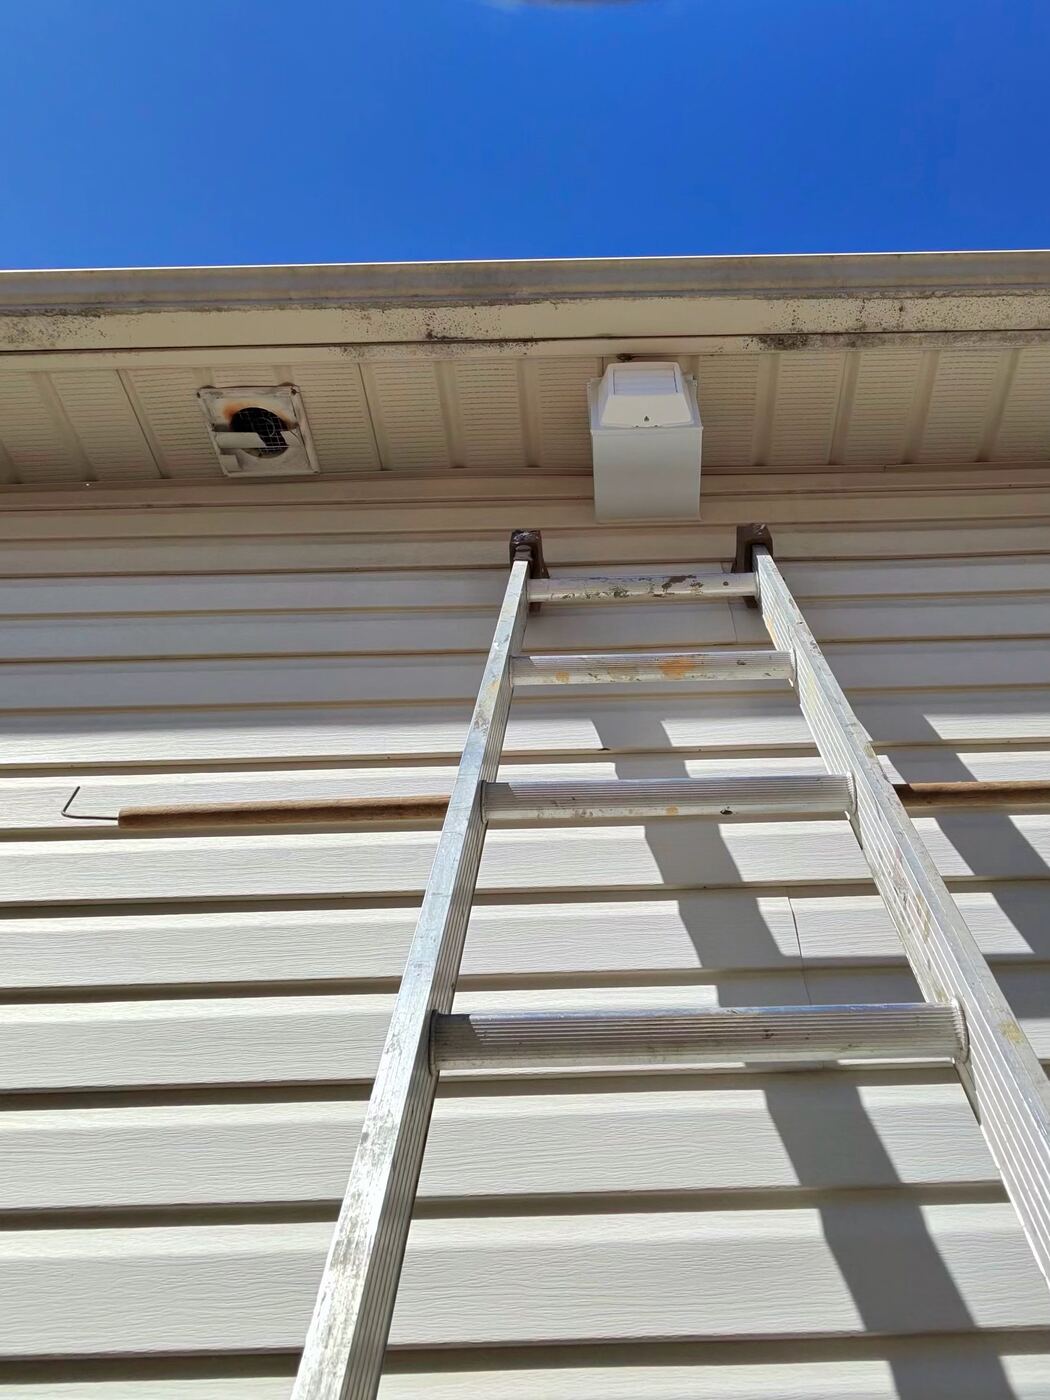 Finished
My honest take: hire one company for both the cover and the install.
Here is something that genuinely puzzles me. Some roofers will have you go buy the vent cover yourself — you do the research, you drive to the store, you pick the part — and then they charge you labour to screw it on. So you have sourced the product, and you are paying a professional for the one step you could have done with a cordless drill and a YouTube video. At that point, why not just install it yourself? Am I right?
My opinion — and I know how this is going to sound, so bear with me — is that you should hire a company that provides both: a better vent cover and a professional installation. As far as I know, we are the only company in Ottawa doing that at this level of quality. I do not love saying that out loud, because nobody likes the egotistical guy. But I have looked around, and there really is no one else in the same competition here. If that ever changes, I will happily come back and update this paragraph.
- The wire grill “solution”. Pest control companies love screwing a wire grill over a vent. But if animals got in, the vent was already broken — and the insulation behind that grill is already destroyed. The grill just locks the door after the raccoon has finished redecorating.
- One cover, two problems solved. A proper install fixes the insulation problem and the animal problem at the same time. That is the whole point — an actual repair, not a patch over the symptom.
- When a grill is actually fine. Honestly? Only over a brand-new, undamaged vent. If the vent is cracked or broken, the answer is not a screen over the damage — it is doing the installation properly.
- Replace the vent, or Thermo-Trap? Either works. It mostly comes down to how long you plan to keep the home — a standard replacement gets you by, and a Thermo-Trap is the buy-it-once option.
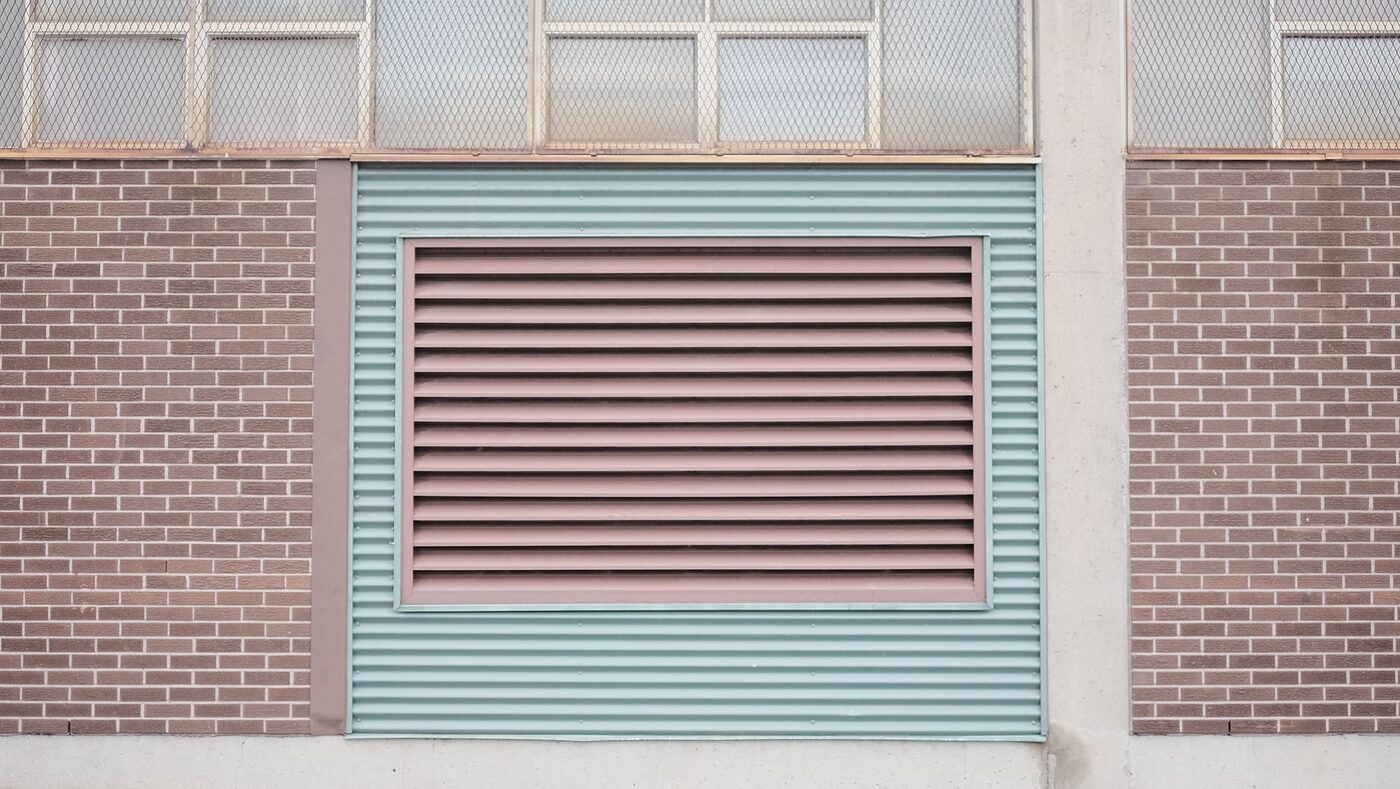
Why Ottawa winters destroy standard dryer vent covers.
Dryer and bathroom exhaust is warm and saturated with moisture. At -17°C, that moisture condenses and freezes on whatever it touches first: the flap. This is why we intentionally do not install metal vent covers — warm, moist air condenses on the metal flaps and ices them over, sealing the vent shut exactly when you need it working. Thin builder-grade plastic is not much better: it turns brittle, cracks, and sticks open. Sealing these leaks is one of the cheapest efficiency wins Natural Resources Canada recommends for Canadian homes.
It is the reason the Thermo-Trap was invented for exactly this climate — by an inventor who was fed up with his own leaky dryer vent — and the reason it is made from UV-coated polypropylene instead of metal. It will not freeze shut, it resists fading and cracking, it seals airtight at rest, and it keeps pests out without a lint-trapping screen — with an expected service life of roughly 15 years. You can read how it came to be on our story page.
- Maintenance: twice-a-year check. Look at the cover each spring and fall. Confirm the flap moves freely and closes flat, and clear any lint at the opening.
- Clean the duct annually. Once a year for most homes, every six months for heavy laundry use or long duct runs. Our dryer vent cleaning service covers this.
- Watch drying times. Slower drying is usually the first symptom of a blocked vent — check the exterior cover before blaming the dryer.
- Managing a commercial property? Laundromats, condos, and restaurants have their own vent demands. See our commercial vent cover replacement service.
Common dryer vent cover questions.
Quick answers to the questions homeowners ask us most about exterior dryer vents.
How often should an outside dryer vent cover be replaced?
Inspect it every spring and fall. Basic plastic covers in our climate typically fail within 5 to 10 years from UV exposure and freeze-thaw cycles. Replace it as soon as the flap cracks, sticks open, or no longer closes flat.
How often should I clean my dryer vent?
At least once a year for a typical household, and every six months for heavy laundry loads or long duct runs. Lint buildup restricts airflow, lengthens drying times, and is a leading cause of dryer fires.
Can I use duct tape on a dryer vent?
No — and I agree, the name really sets you up for disappointment. Duct tape can fix almost anything except, ironically, ducts. The adhesive dries out and fails with the heat of dryer exhaust. Use UL-listed foil tape on duct joints, and never use screws inside the duct because they catch lint.
Can a vent exit through the soffit or roof?
Dumping exhaust into an open soffit is a bad idea — moist air gets drawn back into the attic through nearby intake vents, causing condensation and mould. If your duct already exits at the soffit, the right fix is a sealed, insulated soffit box with a proper cover, which is exactly what we build. A wall termination is preferred for dryers; a dedicated roof vent with a proper cap is acceptable when a wall exit is not possible.
What is the best outdoor dryer vent cover for cold climates?
Avoid metal — moist exhaust condenses on metal flaps and ices them shut in winter. Look for a cover that seals airtight at rest, resists frost, blocks pests without a lint-trapping screen, and carries CSA approval. That combination is exactly what the Thermo-Trap was designed for.
How much does exterior vent cover replacement cost in Ottawa?
It depends on the vent count and type, so we quote after a free assessment with no obligation. A standard cover wastes roughly $80 a year in lost energy, so most installs pay for themselves in about two to three years.
Do you replace other exterior vent covers too?
Yes. We replace bathroom and kitchen exhaust covers, HRV intake covers, and other wall vent terminations in the same visit as a dryer vent cover replacement.

I run the crew that installs and cleans vents across Ottawa and Gatineau. The Thermo-Trap was invented by my grandfather, Normand Blanchard, and over the past 15 years our family has installed more than 5,200 of them across Quebec and Ontario — so when I write about flaps, frost, and bird tenants, it is because I have personally evicted a lot of birds. You can read the whole family story on our story page, or see the work in the install gallery.