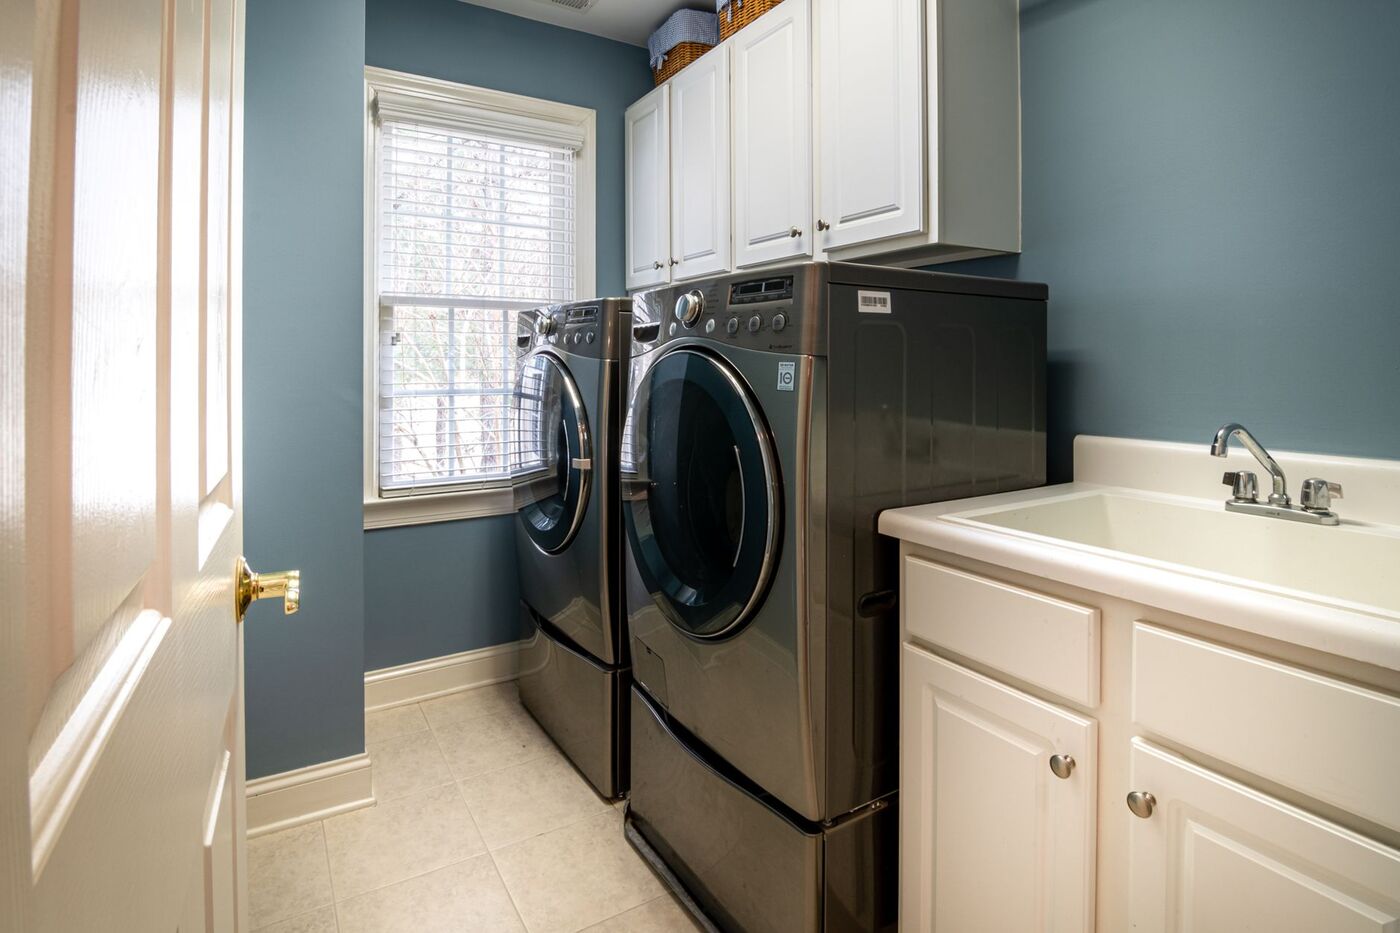
A proper dryer vent installation is five decisions made in the right order: smooth metal duct, the shortest and straightest run you can manage, foil tape on the joints, a sealed exterior termination, and a cover that closes when the dryer stops. That is the whole recipe. The rest of this guide is the measurements, the order of operations, and the mistakes I keep finding behind other people's walls — some of them held together, I am sorry to report, with duct tape.
The three parts of a dryer vent, and the tools you need.
Three parts. A short transition duct connects the dryer to the wall of ductwork — flexible, no more than 8 feet, and UL-listed for the job. The duct run carries the air through the house to the outside. The termination is where it exits the wall: the hood and cover that let hot air out and are supposed to keep everything else from coming in. I wrote a whole separate guide on vent covers, because the termination is where most installs quietly fail.
Tools and materials, so you only make one trip:
- 4-inch smooth metal duct — rigid or semi-rigid, plus a UL 2158A-listed transition duct for the dryer connection.
- UL-listed foil tape and duct clamps. No duct tape. No screws. More on this below, because it matters more than people think.
- A 4 1/4-inch hole saw for the wall opening — with a masonry bit if you are going through brick.
- Exterior caulking and a level, a tape measure, tin snips, and gloves for the cut edges.
- A termination hood with a damper that seals at rest — the part worth spending real money on.

Choose the duct before you buy anything else.
Smooth rigid metal, 4 inches in diameter. That is the answer. Galvanized steel or aluminum, with a smooth interior that gives lint nothing to grab. Semi-rigid metal is acceptable where a rigid section will not fit. The white vinyl and foil accordion hoses sold two shelves over are not acceptable anywhere: the ribs collect lint, the material sags into bellies where moisture pools, and venting guidance prohibits them outright — using one can even void the dryer's warranty.
The reason smooth metal matters is because a dryer vent is a lint delivery system that happens to also move air. Every rib, sag, and protrusion becomes a shelf for lint to build on, and lint buildup is the leading factor in dryer fires — the U.S. Fire Administration pegs failure to clean at 31% of them. Smooth pipe, nothing inside the airflow, and most of that risk never gets a chance to accumulate.
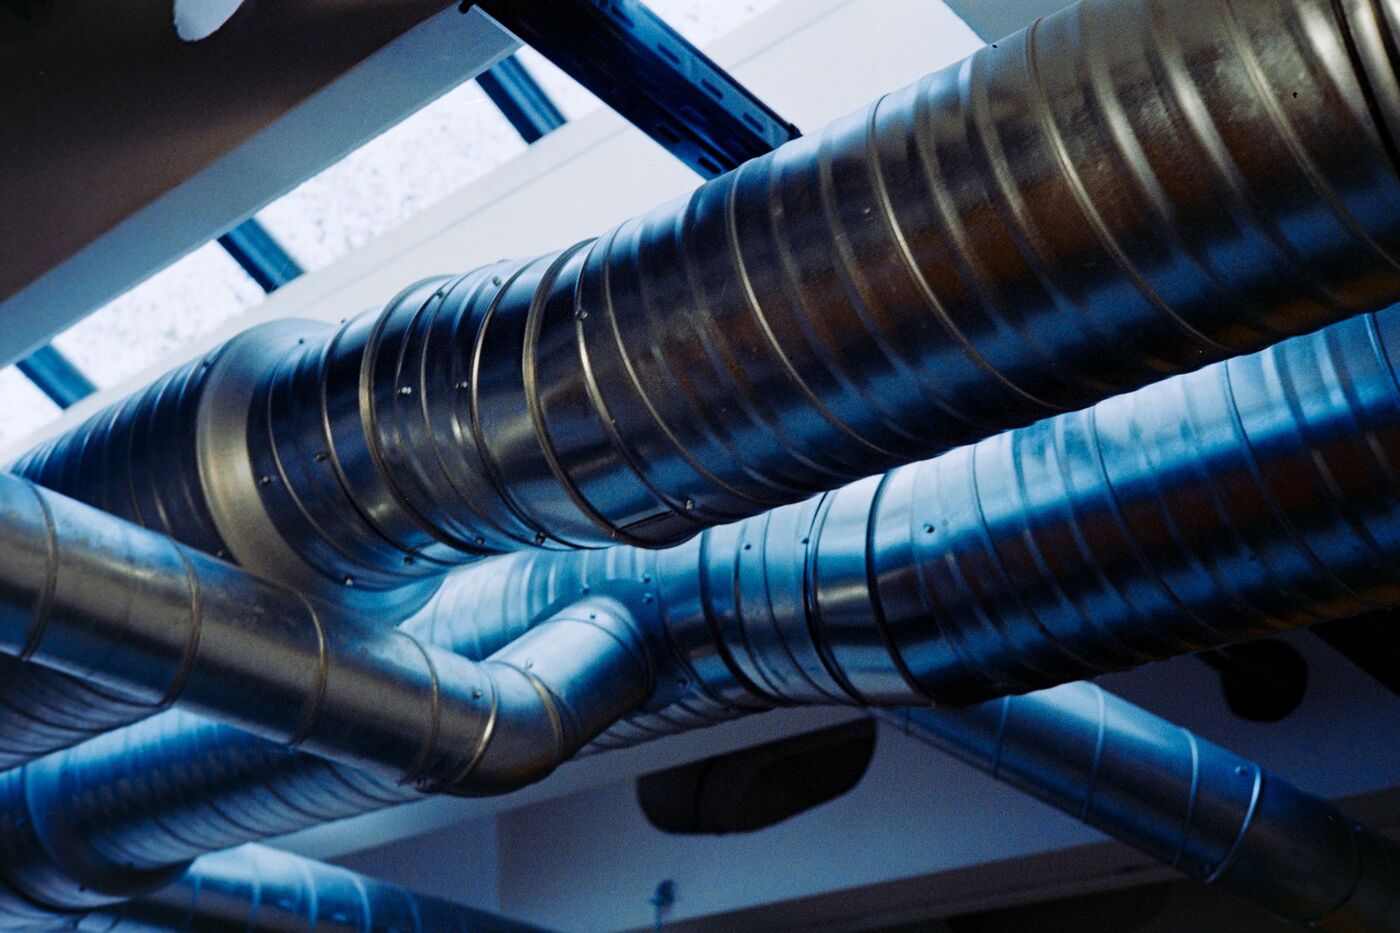
Plan the run: 35 feet maximum, and every elbow shortens it.
The standard maximum for a dryer duct is 35 feet of calculated length, per the U.S. DOE's Building America venting guidance — and your dryer's manual can be stricter. Calculated is the important word. Every 90-degree elbow costs you 5 feet of allowance and every 45-degree elbow costs 2.5. Think of it as an elbow tax. A 20-foot run with three 90s is, as far as your dryer is concerned, a 35-foot run — right at the limit, drying your towels like it is doing you a favour.
The rest of the planning checklist:
- Slope the horizontal runs 1/4 inch per foot toward the exterior so condensation drains out instead of pooling into lint paste.
- Support the duct every 12 feet and at every joint. Sags become bellies; bellies become blockages.
- Insulate any duct passing through unheated space — a cold garage or crawlspace run turns warm exhaust into water in January. This matters more here than in almost any market those big-brand guides are written for.
- Pick the exit point before you cut: at least 12 inches above grade, at least 3 feet from windows, doors, and any fresh-air intake, and never into a soffit, attic, or crawlspace — moist air gets pulled straight back into the house.
The installation, step by step.
Step 1: Mark and cut the wall opening.
Drill a pilot hole from inside at your planned exit, confirm outside that you are clear of studs, wiring, and anything you would regret meeting, then cut the opening with the 4 1/4-inch hole saw. Brick and masonry need the masonry bit and more patience than you budgeted.
Step 2: Mount and seal the termination.
Set the hood so it sits tight to the exterior, flashed and caulked so water sheds away from the opening rather than behind the siding. The termination should sit proud of the siding profile, level, with the damper swinging free. This is also the moment you choose what a decade of Ottawa weather gets to work against — the builder-grade cover in the kit, or something built to seal. You can guess which one we install.
Step 3: Assemble and seal the run.
Dry-fit the duct sections from the wall back toward the dryer, crimped ends pointing in the direction of airflow. Seal every joint with UL-listed foil tape — the only tape rated for this heat. Duct tape, despite the name and the reputation, dries out and lets go. And never join sections with screws: every screw tip inside the pipe is a lint hook, and venting guidance prohibits them for exactly that reason.
Step 4: Connect the dryer.
Attach the transition duct to the dryer outlet and the wall duct with clamps, keeping it under 8 feet and unkinked. Push the dryer back slowly — the number of installs killed by the dryer itself crushing its own duct against the wall is genuinely embarrassing for everyone involved. If you have a gas dryer, this step is not yours: a licensed professional handles anything that touches the gas connection.
Step 5: Test under real airflow.
Run the dryer on high and go outside. The flap should open fully, the air should push hard against your hand, and when the cycle ends the flap should close flat with no gap. That one test catches most bad installs, and it costs you nothing but a walk around the house.
Why Ottawa winters freeze dryer vents shut.
Every install step above is standard practice anywhere in North America. Here is the part that is not. Dryer exhaust is warm and saturated, and at -17°C it condenses on the first cold thing it touches. On a metal damper, that condensation freezes the flap shut — the vent seals itself exactly when you need it working. In an uninsulated duct through a cold space, it turns to water and then to frozen lint. Natural Resources Canada calls air-leakage control the most important efficiency work in a house, and a termination that will not close is an air leak with a schedule.
This problem is the whole reason the Thermo-Trap exists. My grandfather invented it for exactly this climate after his own dryer vent kept icing up — a Le Droit reporter later measured the problem at -17°C outside and just 4°C inside a leaky vent duct. The full story is on our story page. The short version for your install: finish the job with a termination that seals at rest and is not made of metal, or plan on meeting your new vent again in February.
My honest take: when to install it yourself and when to hire it out.
If your dryer sits against an exterior wood-framed wall and the run is a straight shot through the rim joist, install it yourself. Genuinely. It is a Saturday morning, a hole saw, and the checklist above, and you do not need to pay anyone for it — including us.
Hire it out when the job stops being that job: brick or stone walls, long runs with multiple elbows, soffit exits, upper-floor laundry, or anything with a gas line. And whoever does the work, my opinion on the termination stands: the cover that comes free in the big-box kit is a 1950 design with an insulation value of R-0, and it wastes roughly $80 a year in heated air once its flap starts sticking. It is not a component. It is a placeholder. Spend the money where the weather is.
If the vent is already installed and just clogged, you do not need this guide or a new vent — you need our dryer vent cleaning service, or twenty minutes with a brush kit if the run is short.
Common dryer vent installation questions.
The questions homeowners actually ask us about installing and replacing dryer vents.
How long can a dryer vent run be?
The standard maximum is 35 feet of calculated length, and every bend shortens it: subtract 5 feet for each 90-degree elbow and 2.5 feet for each 45. Your dryer's manual can be stricter. The shortest, straightest run you can manage is always the right answer.
How much does it cost to install a dryer vent?
It depends on the run length, the wall material, and whether an opening already exists, so we quote after a free assessment — exact written number, no obligation. For context: a standard cover wastes roughly $80 a year in lost energy while it waits to be replaced, so the termination is not the place to cut corners.
Where should a dryer vent exit the house?
Through an exterior wall, at least 12 inches above grade and at least 3 feet from windows, doors, and any fresh-air intake. Never into a soffit, attic, crawlspace, or garage — moist air has to leave the building entirely, not just leave the room.
Can a dryer vent inside the house?
No. A load of laundry pushes litres of water out as vapour, and releasing that indoors feeds condensation and mould. If outdoor venting is truly impossible, the answer is a ventless heat-pump dryer, not an indoor vent kit.
What tape should I use on dryer vent joints?
UL-listed foil tape only. Duct tape dries out and fails with the heat — I have opened walls and found the evidence. Clamps also work at connections. Screws never do: every screw tip inside the pipe catches lint.
Should I put a screen over the dryer vent to keep birds out?
No. Screens on a dryer termination trap lint and are prohibited by venting guidance because they build a fire risk one load at a time. The right pest protection is a cover designed to seal at rest and block animals without a screen — our vent cover guide covers the options.
Can I install a dryer vent myself or should I hire a professional?
Short, straight run through a wood-framed wall and you own a hole saw? Do it yourself. Brick or masonry, long or multi-elbow runs, soffit exits, upper-floor laundry, or a gas dryer? Hire it out. Gas is non-negotiable — that connection belongs to a licensed professional.

I run the crew that installs and cleans vents across Ottawa and Gatineau. The Thermo-Trap was invented by my grandfather, Normand Blanchard, and over the past 15 years our family has installed more than 5,200 of them across Quebec and Ontario. You can read the whole family story on our story page, or see the work in the install gallery.